Step-by-step cosmetic banner design in Illustrator for beginners. Detailed, clear, easy to do and anyone can do it.
After a series of introductions to illustrator interface and an introduction to common shortcuts in Illustrator then this is the first post about banner design that I guide .
Designing cosmetic banners requires meticulousness, beauty and attraction. However, most of them have the same layout as:
- Background
- Photo brand face
- Logo cosmetics li>
- Cosmetic slogan
- Decorative details
Decorative details don’t have to be done before or after, it’s up to the designer and as long as it’s beautiful and harmonious, it’s fine.
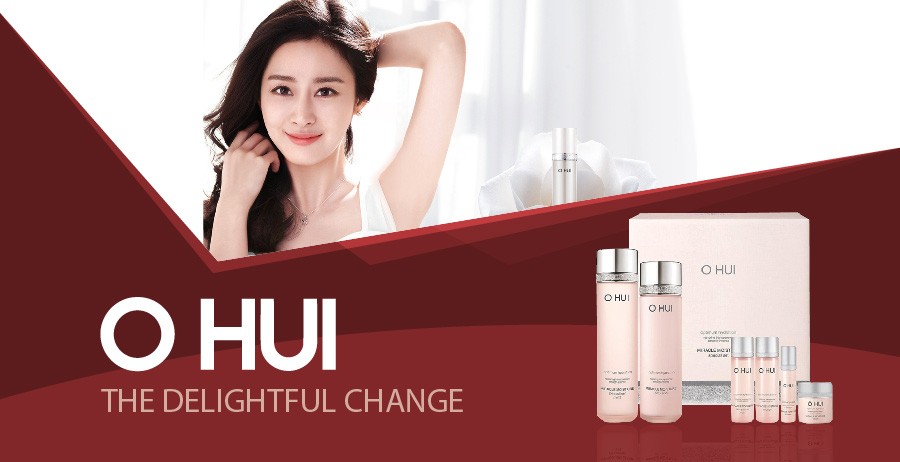
If you’ve read this far and you still haven’t figured out what to do, then Learn more interface and basic operations in Illustrator before continuing to read this article.
1. Background
Background is the background image below, has the effect of highlighting the product and decorative details.
1.1 Create background
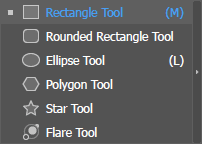
Activate the Rectangle tool with the M key
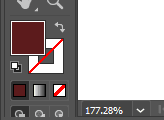
Choose an arbitrary Fill color, make the stroke transparent by clicking the / below.
Draw a square equal to larger than the created Artboard. This image is called background.
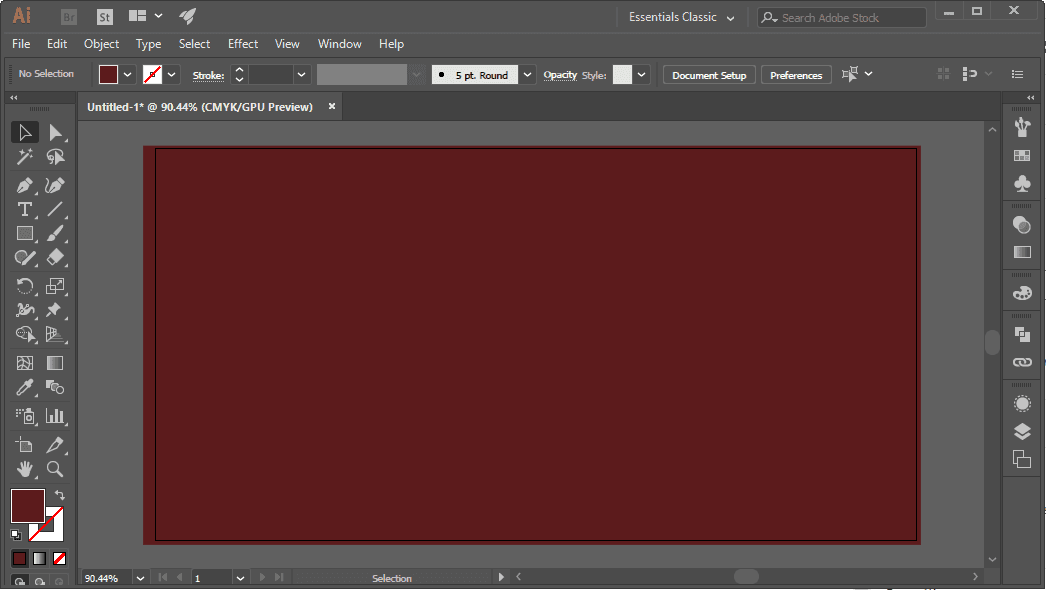
Lock this image with Ctrl + 2 (Object > Lock > Selection)
1.2 Background decoration
Continue using the Rectangle tool to draw another rectangle above the background and Fill it with white color.
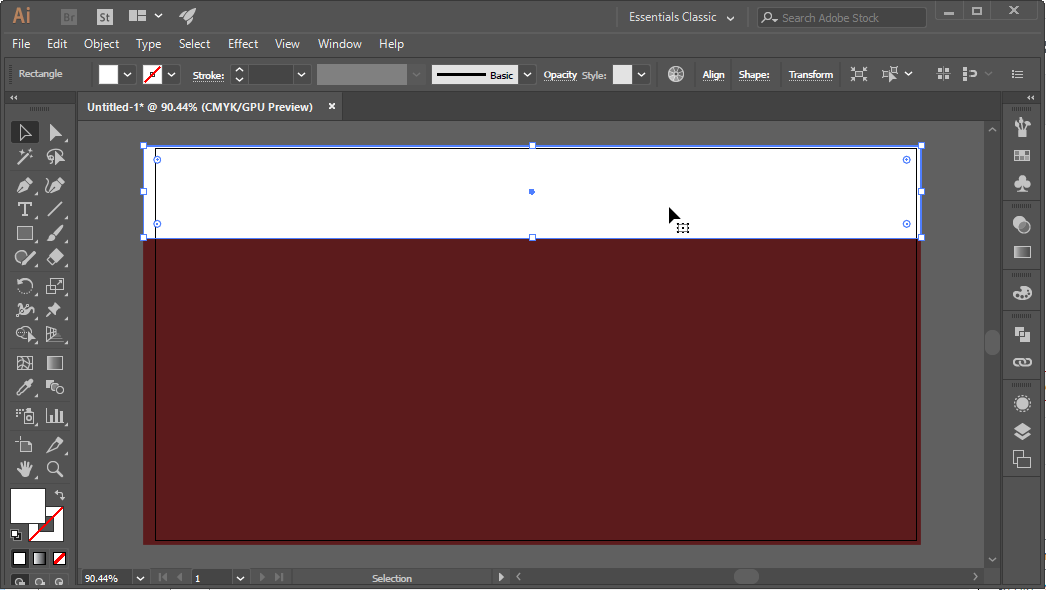
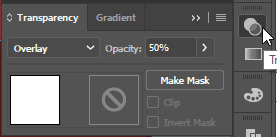
Open panel Transparency and set its properties as follows:
- Opacity: 50%
- Blend mode: Overlay
Click on the newly created object, press Ctrl + C and Ctrl + F (copy and paste the new object on the correct position of the original object).
Important: right-click the copied object, select Arrange > Send Backward or press Ctrl + [

The purpose is to bring the newly created object below the original object.
Use the Rectangle tool to stretch the created object and set the Opacity to about 30%.
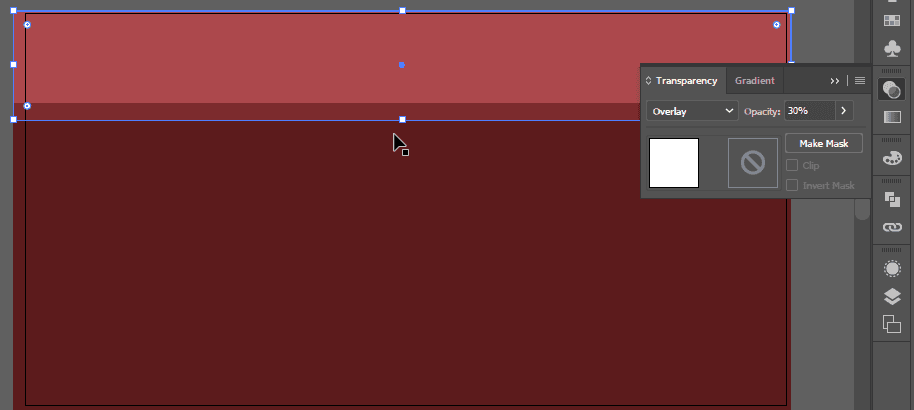
Repeat the above step with an Opacity of 10%. Move this object below the previous 2 objects by pressing Ctrl [ (2 times).
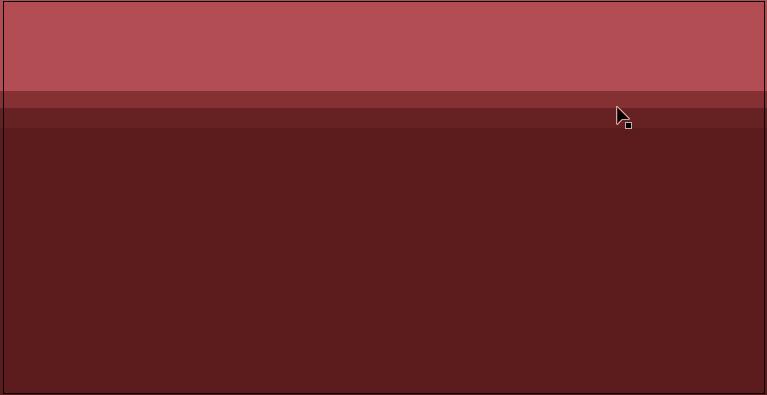
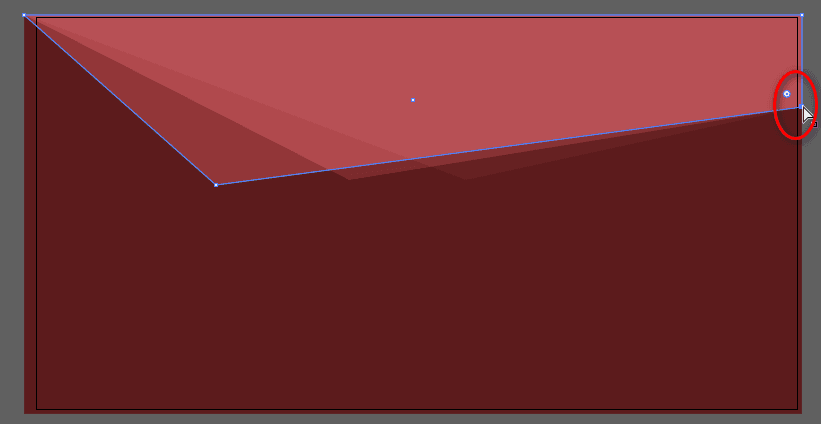
Using the Direct Selection tool with shortcut key A, select the lower left corner of each object, move it to a new position to create an angular effect.
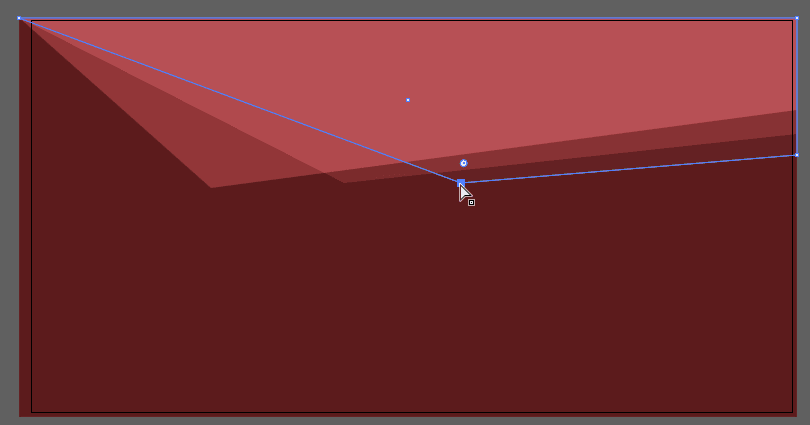
Move the bottom right corner of 3 objects to the same position.
2. Brand face
Duplicate the top object, change the opacity to 100% and the blend mode to Normal.
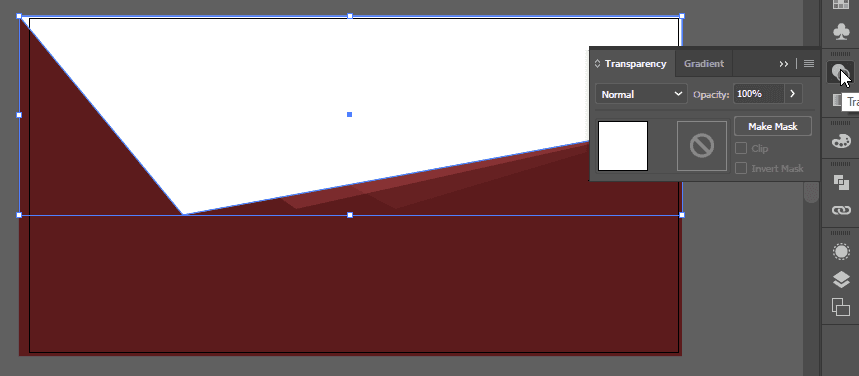
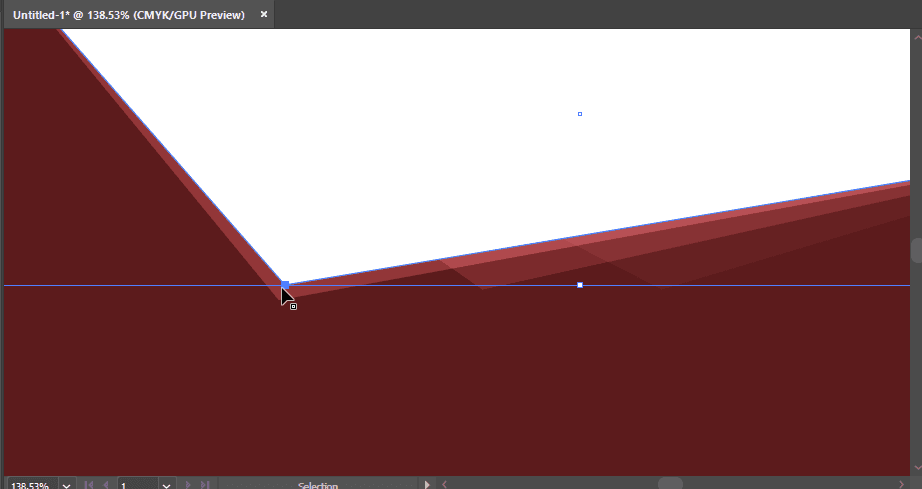
Using the A key tool, drag the bottom left corner up so it’s a bit smaller than the original object.
Press the key combination Ctr + Shift + P (File > Place) to open the image of the brand’s face.
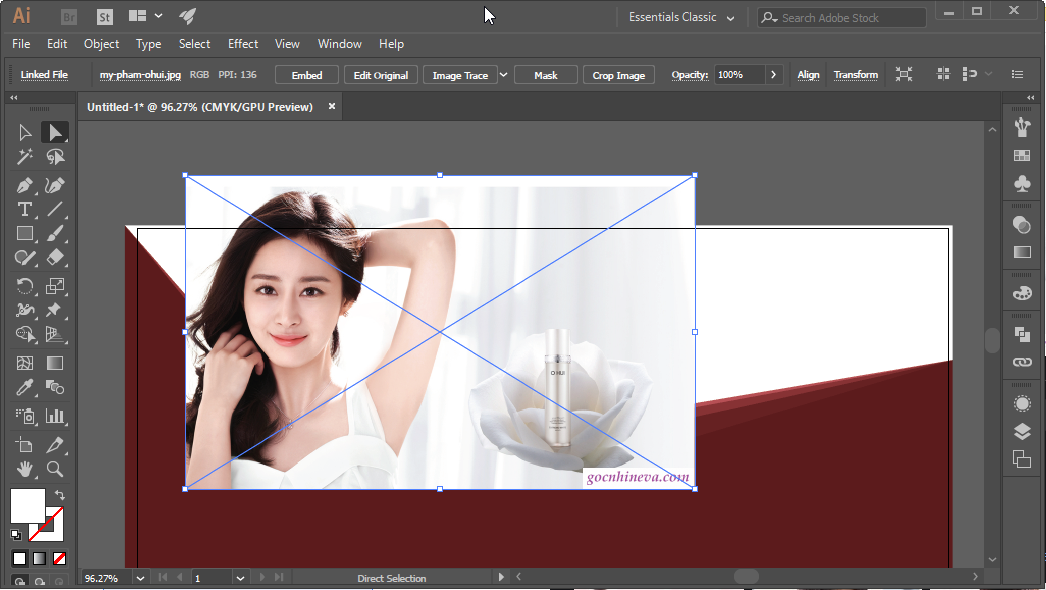
Đưa đối tượng vừa tạo khi nảy lên trên cùng (Ctrl + Shift + ]).
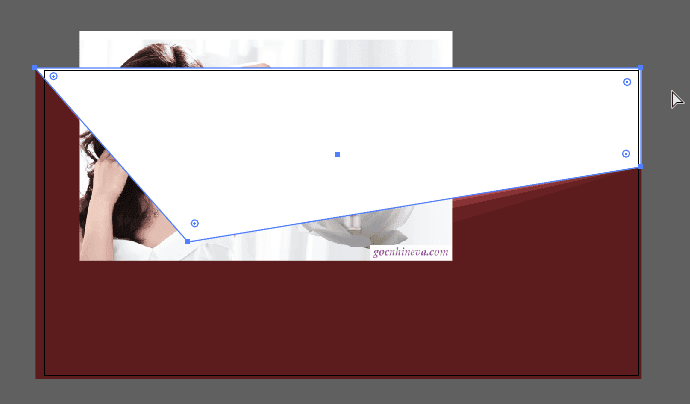
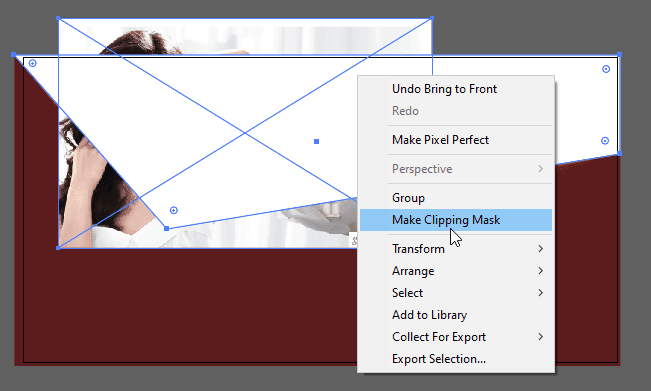
Hold Shift, use the Selection tool to select the girl’s image, now there are 2 selected objects. Release shift, right-click the image and select Make Clipping Mask
Double click on the image, zoom and move the image accordingly.
In this case because the image is too small compared to the background, I created a white square object and Arange it below the girl image.
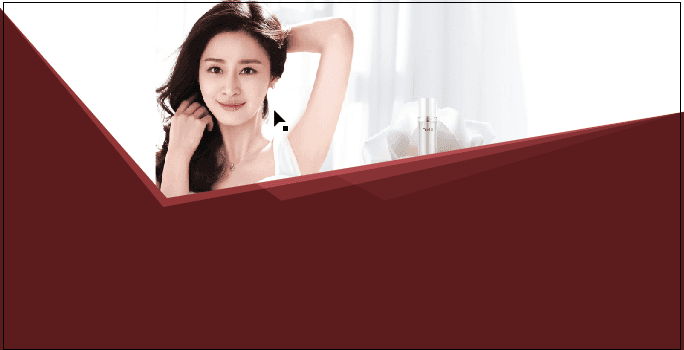
3. Cosmetic photo
Place your cosmetic photo in, in case the image is JPG (image with white background), you must separate the background first.
The way to separate the background will have its own guide, but I will still talk briefly here.
3.1 Background separation
I have a detailed tutorial article how to separate the background for an image. However, I will still briefly guide you here.
Using Pen tool with white stroke, Fill with None (/) draw a path around the cosmetic.
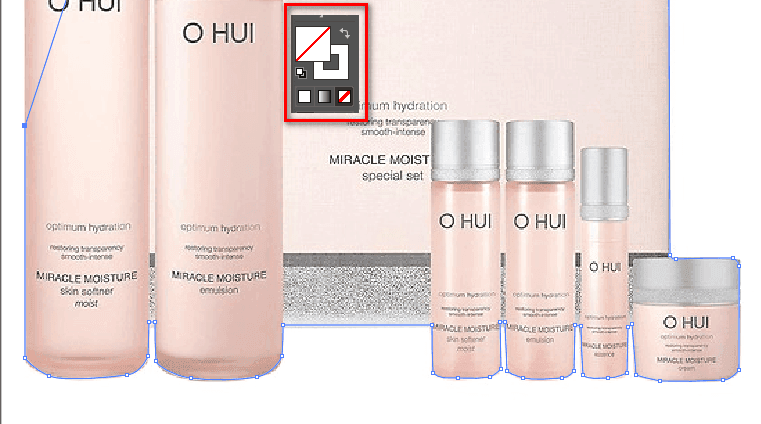
After drawing, use the Rectangle tool to select the object and press Shift + X to invert the fill and stroke colors.
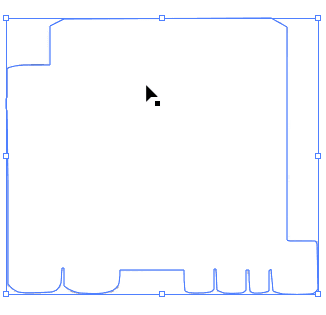
Continue to press Ctrl + X to cut this object, then select the cosmetic image > Transparency > Click twice on the circle with the diagonal line as shown.
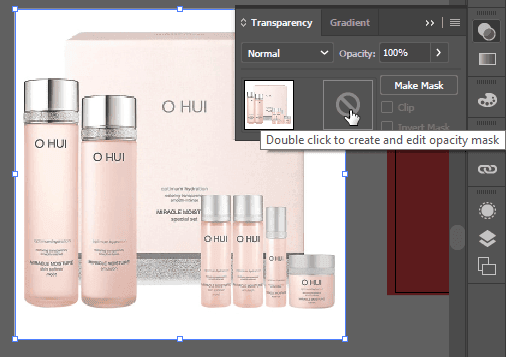
After Clicking, this cosmetic will disappear, you just need to press Ctrl + F to paste the cropped image on the mask of the cosmetic.
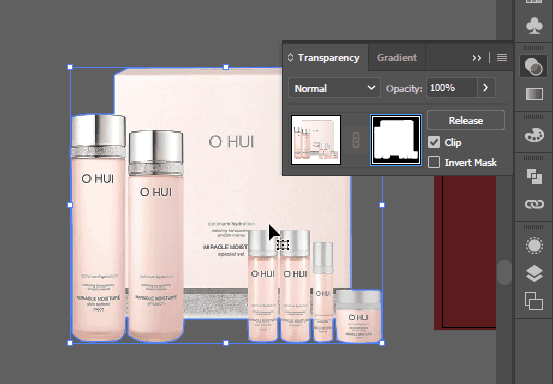
Quay trở lại bằng cách click vào ảnh kế bên mặt nạ.
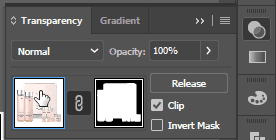
3.2 Shading
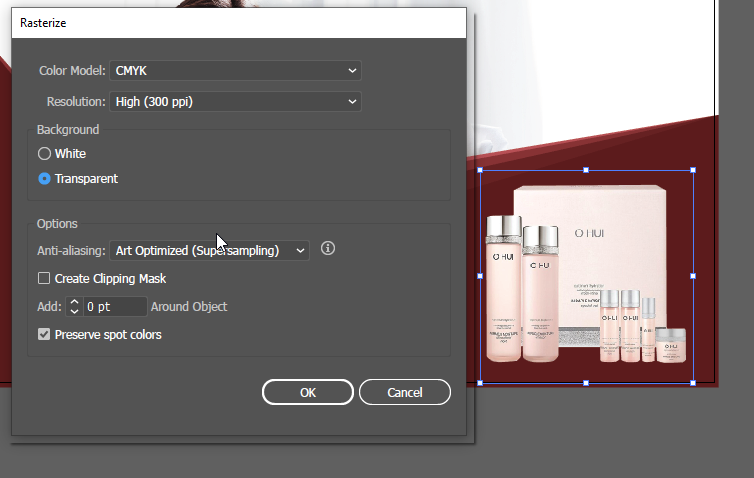
You select Object > Rasterize and set it like a star and press OK. The purpose is to combine the image mask and the image into a single object.
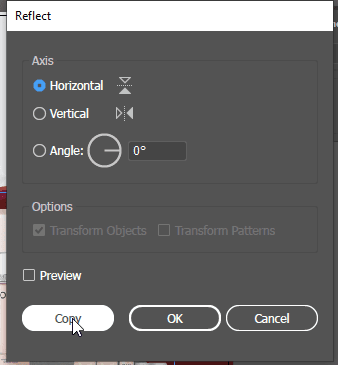
Select the object, press the O key (Reflect tool), select Horizontal and press Copy.
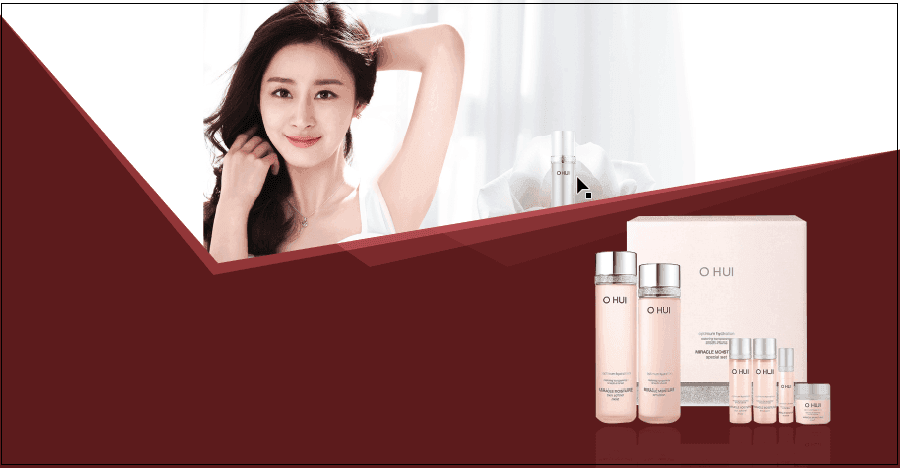
Use the Selection tool to move the newly created object below facing the original image, open transparency and select as follows:
- Opacity 30%
- Blend mode: Soft light
4. Insert cosmetic logo
The cosmetic logo is sent to you by the supplier, or you can copy it online. It is best to choose a black and white background image for easy handling.
You paste the logo into the design, select the logo and click on Image Trace in the toolbar above.

Then on this toolbar, select Expand

Right click > Ungroup and delete the excess, color it and we get the following:
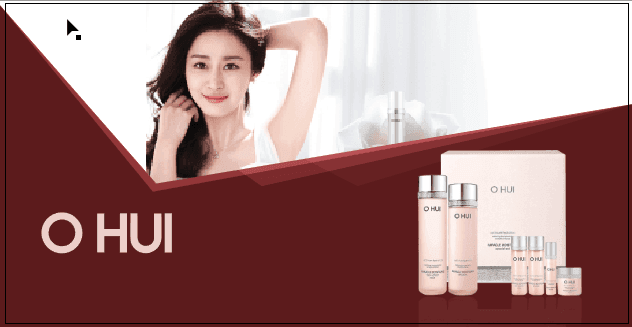
Use the T key (Type tool) and retype the brand slogan. A little balance for easy viewing:
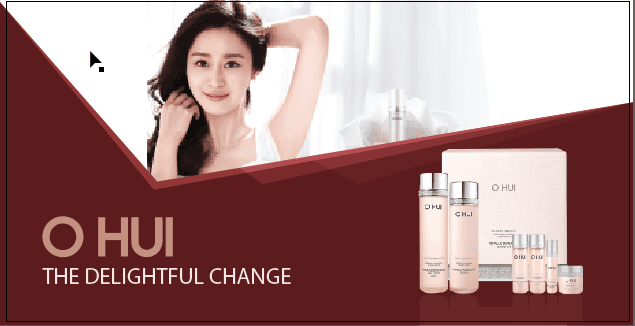
5. More post-production details
Use the Rectangle tool to draw a white square, choose 40% opacity, blend mode is overlay as shown:
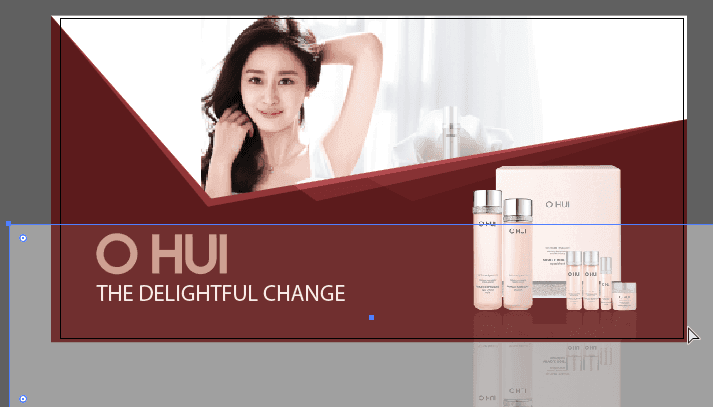
Move the newly created object to the bottom layer with Ctrl + Shift + [
Move the newly created object on one layer with Ctrl + ]
Use Shift + C to select the upper right corner of the object.
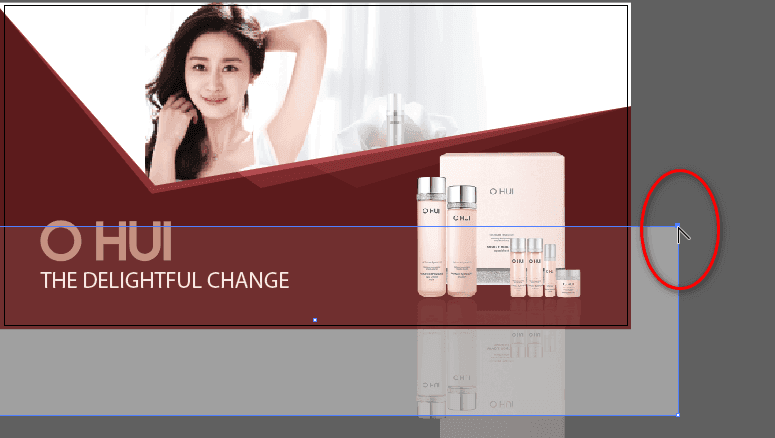
Drag to the right to bend the object, balance the color and position accordingly. Export the file and you get a finished product.

6. End
So I just finished the tutorial on how to design a cosmetic banner step by step using Illustrator.
The article is quite detailed so it’s a bit long, some shortcuts and tools I have repeated over and over for you to easily remember.
If you still do not know all the shortcuts and toolbars, you should read the article Tool Panel and its shortcuts in Illustrator
Good luck!
Illustrator cosmetic banner design