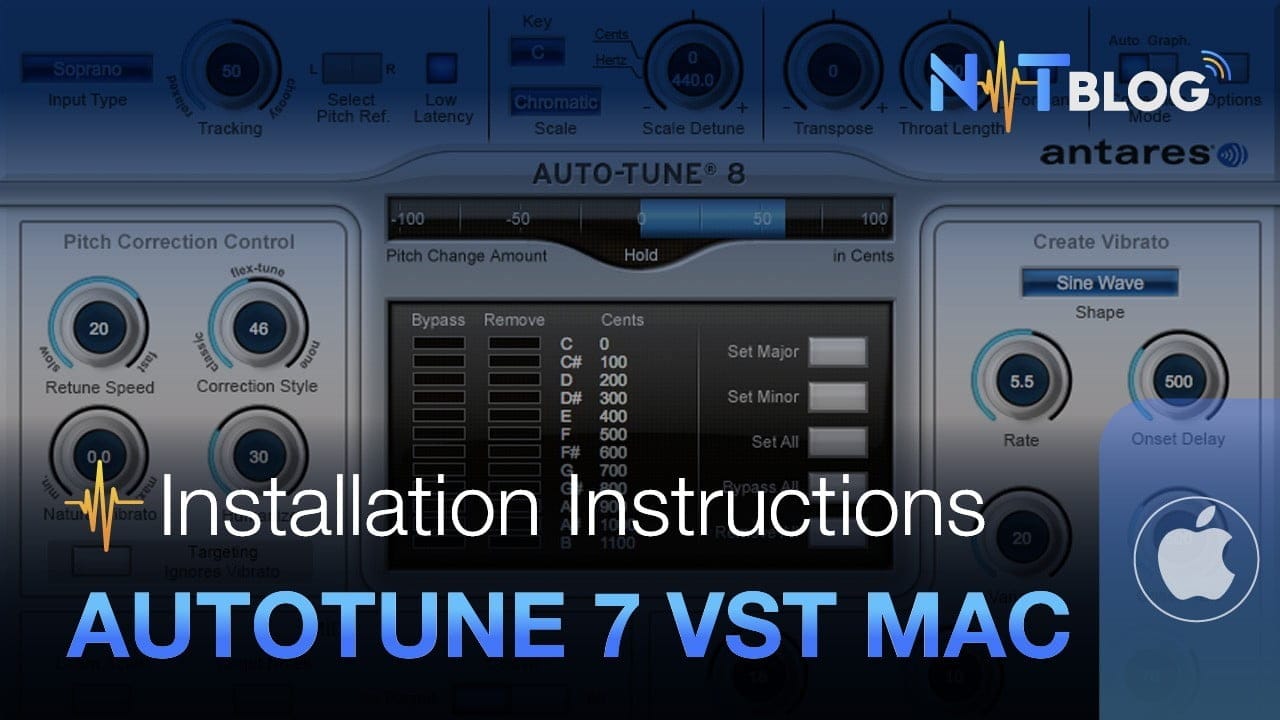
Auto-Tune 7 for Macbook full active will be the main content of today’s article.
Auto-Tune is a built-in audio processor by and registered trademark of Antares Audio Technologies, uses a proprietary instrument to measure and change pitch in the recording and performance of musical instruments and vocals.
Auto Tune is a regular audio processor integrated into recording software to help manage audio and edit music. When detecting the wrong voice, weak voice, slightly high voice,… they will automatically adjust the voice to match the note of that song.

Today, Auto Tune is often used in recording, singing livestream or setting it to use use karaoke.
Currently on macOS, only version Auto-Tune 7.6.8 can be actived and today’s article will guide you to install this version in detail.
I. Download and install Auto-Tune 7 for macbook full active
1. Download Auto-Tune 7 for macbook
You click on the button below, wait for the timeout, a link will appear for you to click. After opening the link, you will see the Download all button in the right corner, click to download.
After downloading, open it and you will see the Auto-Tune 7 installation file
2. Install and active Auto-Tune 7 for macbook
You open the unzipped file with the extension *.dmg will appear folders including:
- Step 1 – Cr@ck
- Step 2 – Installer
- Step 3 – Patched

Install in order and follow the instructions below:
Step 1 – Cr@ck: You choose the folder suitable for the version of macOS you are using and copy the files inside that folder to /Applications/ ilok (if not, create it)

Next, open Terminal and run the following commands in turn:
sudo chmod 775 /Applications/ilok/libstXX++.*

sudo chown 0:0 /Applications/ilok/libstXX++.*

sudo codesign -fs - / Applications/ilok/libstXX++.6.0.9.dylib

sudo codesign -fs - /Applications/ilok/libstXX++.6.dylib

Then reboot macbook, step 1 done.
Step 2 – Installer: Open the folder with the same name and you will see some files in it. Install file Install Auto-Tune 7 VST v768.pkg (note it is VST).

Step 3 – Patched: You copy the file Auto-Tune+Time_VST.vst3 to the path /Library/Audio/Plug-in/VST3. If there is an existing file inside, choose Overwrite.

III. Conclusion
So I’ve finished showing you how to install Auto-Tune 7 for macbook. I have tried to make it as detailed and meticulous as possible for you to follow easily. Hope you can make it.
This is post number 3 in a series of articles on installing live singing software and necessary plugins for macOS operating system. You can review the previous 2 articles with the link below:
I accept installation of Project Studio One 5 as well as Cubase at a reasonable price, please support me when you can! Details can be found at Installation Service Cubase Project .