Remove background of objects or images in Illustrator is super easy in just 3 easy steps.
Hi guys, this afternoon I just did a tutorial Designing cosmetic banners with Illustrator, but when it came to cosmetic processing, I realized that I had not instructed to separate the object background.
So, I decided to immediately write this tutorial to separate the object background in Illustrator for everyone to see.
Please note that the steps such as creating a new File or Artboard, I will not guide here.
If you don’t know anything about Artboard, you should read the article again Learn the interface and operations basic work in my Illustrator.
Draw a path
After Open or Place the image in the drawing. You use the Pen tool with Fill = None and the stroke is an arbitrary color. It is best to choose a color that contrasts with the background color for easy viewing.
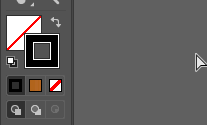
My photo has a white background, so stroke should be black. Then you draw around the border of the object you want to cut.
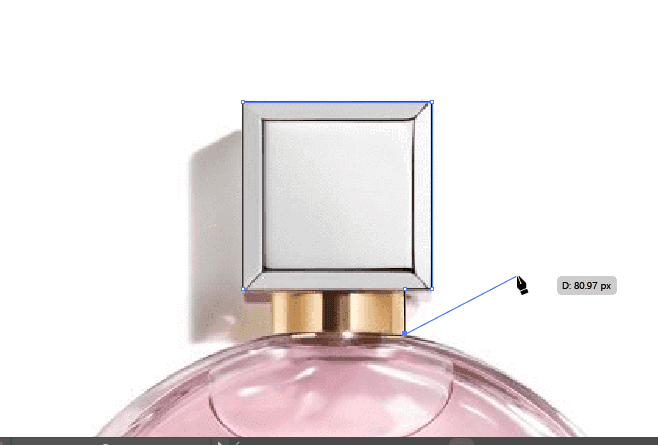
You combine with the Zoom Tool and the Hand tool to draw so that the stroke matches the outline of the object as much as possible.
To draw an absolute line, after selecting the 1st point, hold Shift and click on the 2nd point of the line.
To draw a curve, you dot 1 point at the edge of the perfume bottle, hold the mouse and drag it slightly up and down so that the curve matches the wall of the bottle.
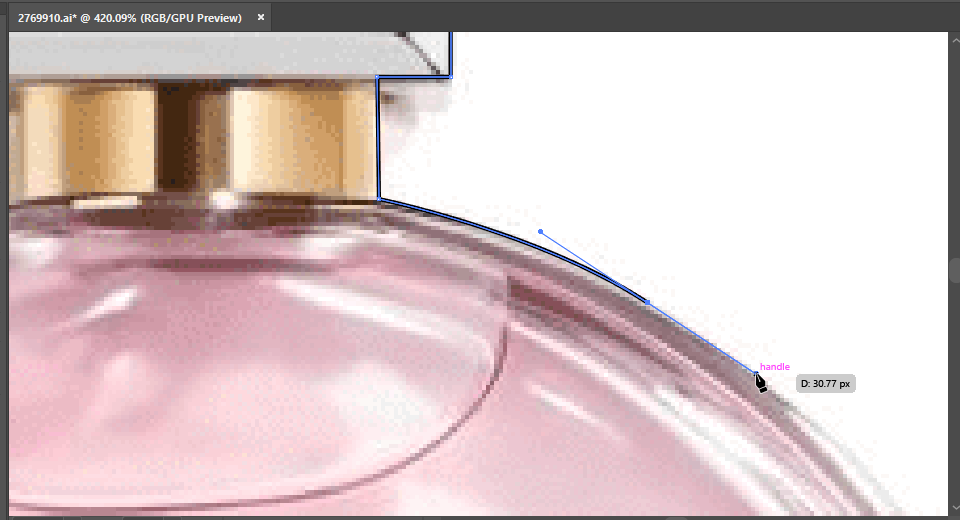
While dragging, if the beard part of the stroke is too long, you can shrink it by holding Alt and hovering the mouse to shorten the beard (don’t release the mouse).
Continue until the last stroke touches the first.

Shadow the object
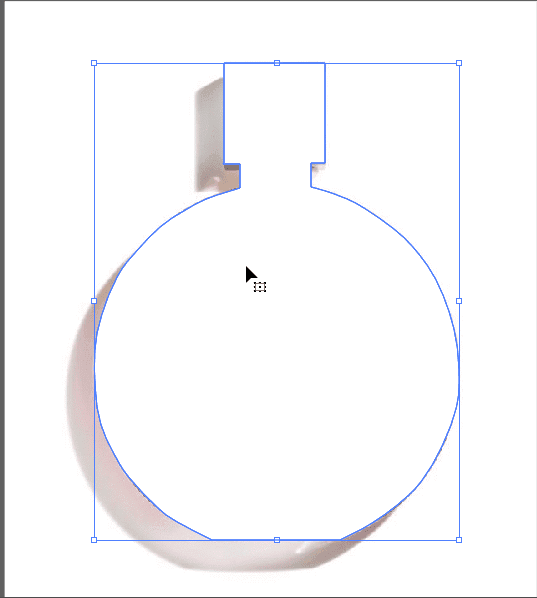
Why do I call it a shadow, because this shadow has the same shape as the object you want to cut, but it is just a uniform block of color.
Step 1: Select the Selection Tool (V key) press Shift + X to invert the color between stroke and fill.
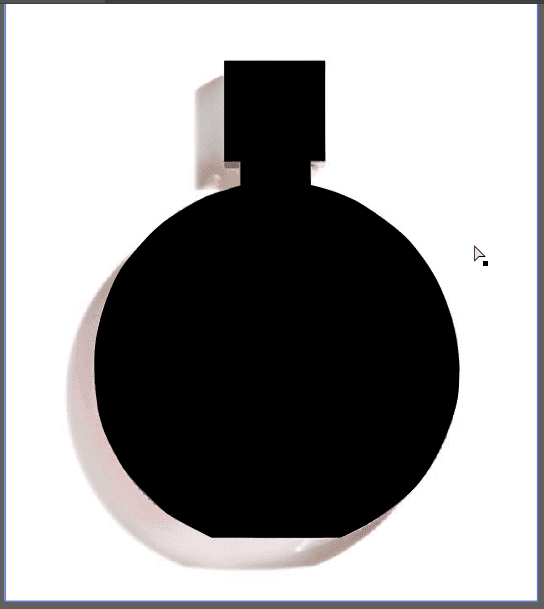
Step 2: click anywhere on the working window as long as it is not the active object, the purpose is to not select this object anymore.
Step 3: Select this black shadow again, fill it with white (if you chose white stroke at first, then Skip this step).
Create object mask
Step 1: Use the V key to select this white shadow and press the combination Ctrl + X to cut it away (the cut object will be saved in clipboard).
Step 2: At this point, the perfume bottle will appear. Click on the perfume bottle again and open Panel Transparency up .
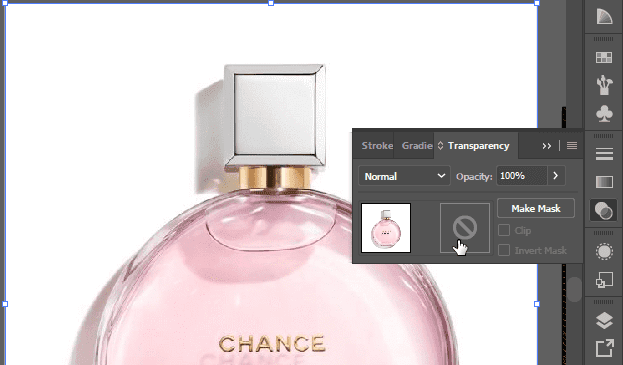
Double-click this square with a circular slash icon to create a mask (Make Mask) for the object, and this will activate the Editing Mask mode strong>.
Step 3: Press the key combination Ctrl + F to paste the cut white shadow when bouncing on the mask of the perfume bottle.
Why Ctrl + F and not Ctrl + V? Because Ctrl + F is to paste the object on the right original position when it was cut.
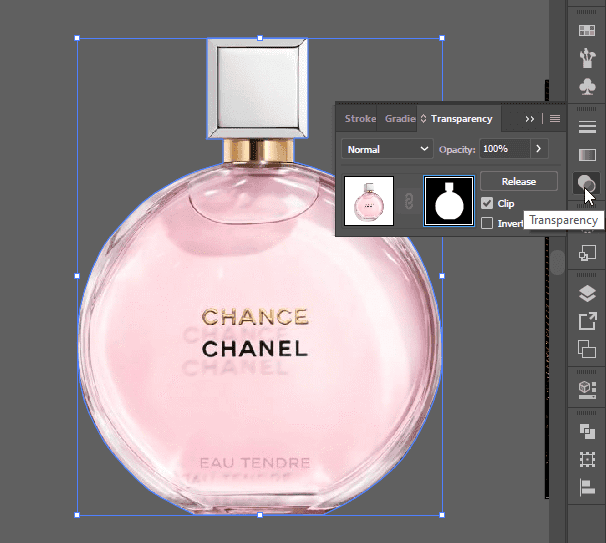
Step 4: Select again left small image (perfume bottle image) to turn off Edition Mask mode, and exit the Transparency panel.
To explain a bit about object masking, in this masking mode, black represents loss of image and white is visible. Each different color tint will cause the original image to change differently.
In design, masks are used a lot such as creating shadows, removing background images, etc..
Conclusion
So you already know how to remove the background of an object in Illustrator. It’s very simple, isn’t it?
The next lesson I will show you how to create a shadow for an object. Including reflections on mirrors, ground and walls.
If you have any questions, please leave a comment below, I will help you as soon as possible.
Good luck!!!