Focusrite Soundcard is a line of high-quality sound card products manufactured by Focusrite, one of the leading companies in the field. design and manufacture professional audio equipment. The Focusrite soundcard is designed to provide the best sound quality for users, from artists and music producers to sound engineers and filmmakers.
Today’s article will show you how to optimally set up the tuning buttons on the Focusrite Soundcard for use with recording and live singing software such as Cubase, Studio One, Cakewalk… (based on my experience).

I. Preparation steps before installing software for Soundcard Focusrite
1. Driver for the Focusrite Soundcard series you are using.
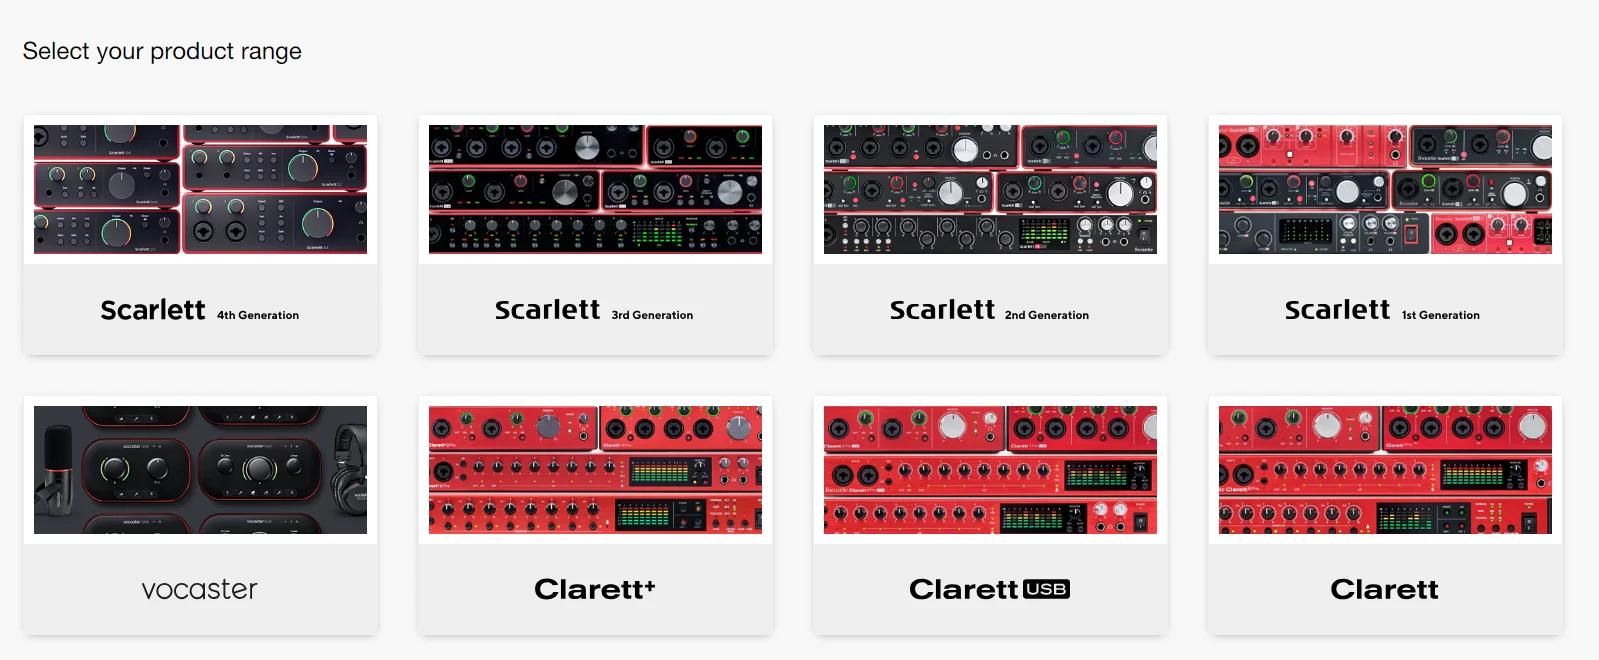
Please check the soundcard model you are using and download the correct one at the company’s official download page.

2. DAW Software
DAW, also known as digital audio workstation software (music mixing and sound editing software). Whether the purpose is to sing livestream or record, you still need to install it.
Some popular software such as: Cubase, Studio One, Cakewalk, FL Studio…. You can buy directly at the software homepage or download for free here. Be sure to choose the correct type for your operating system (Win or Mac).

3. Audio Plugins
In simple words, plugin is additional software installed to support or add additional features to the DAW. available. Plugins need to be installed (remember to choose the correct operating system):
- Waves Complete
- Auto-Tune
- Fab-filter Bundle
4. Software to retrieve music from Youtube
If you use software to sing live, you need an additional software to forward music from YouTube into the software to get the music tone or increase or decrease the tone.
If on Windows, use Asio Link Pro.
If on MacOS, use Blackhole or Loopback.
5. Setup Project
After you have all the DAW, plugins and necessary software, you need to create a project and tweak it so that when you use it, just open it and everything will be loaded without having to do anything. from the beginning.
Each DAW will have a different project format and slightly different usage, you can go to install packages, find a free project and download it to experience.
II. Install live singing recording software for Soundcard Focusrite
1. Set up Focusrite Soundcard properly
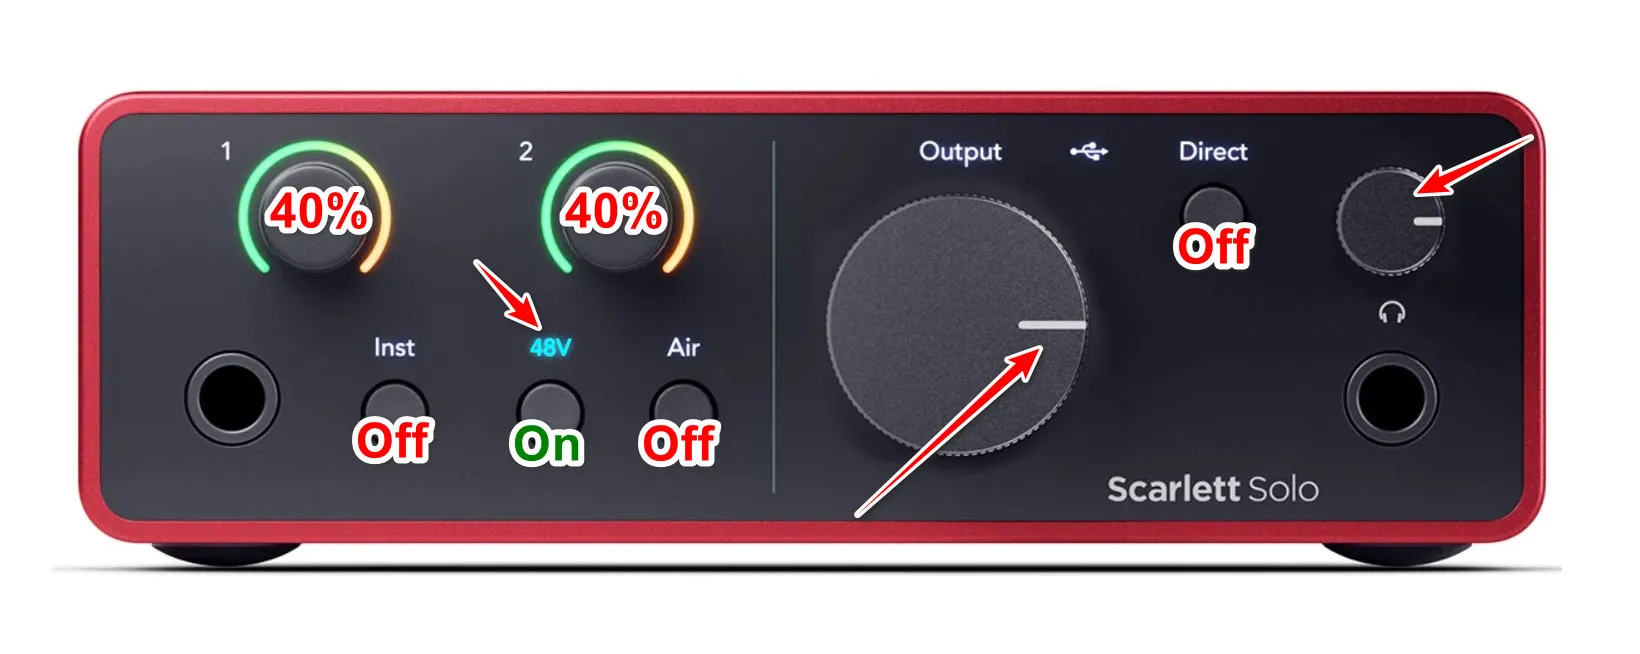
Even though there are only a few buttons, correct setup is extremely important to get the best sound quality. Normally, a recording soundcard will have main knobs, and according to my experience, you should set it up as follows:

- Volume Microphone: Vol mic, or mic gain or level is the name of the microphone volume control button commonly found on Soundcards. You should not turn it up too loud because it will pick up a lot of outside noise. and also noise from the soundcard itself. Usually it should be below 50% or a little higher so your mic’s sensitivity is low.
- Master Volume: Out, Monitor, HP, Headphone… is the name of the master volume control button commonly found on soundcards. Although this knob does not affect the input sound, it is necessary to adjust the appropriate level (not too loud or too soft) to create a comfortable feeling when singing.
- The Direct Monitor button, the button between Playback and Input, between Computer and Input is the name of the function to listen directly to the microphone’s raw sound (without being processed by software). The best way is to turn it off by turning off all software on the computer, put on a headset and speak into the mic. If the headset has mic sound, try to turn it off using the buttons just mentioned.
2. Install DAW, Plugin and create your own projects or download shared projects.
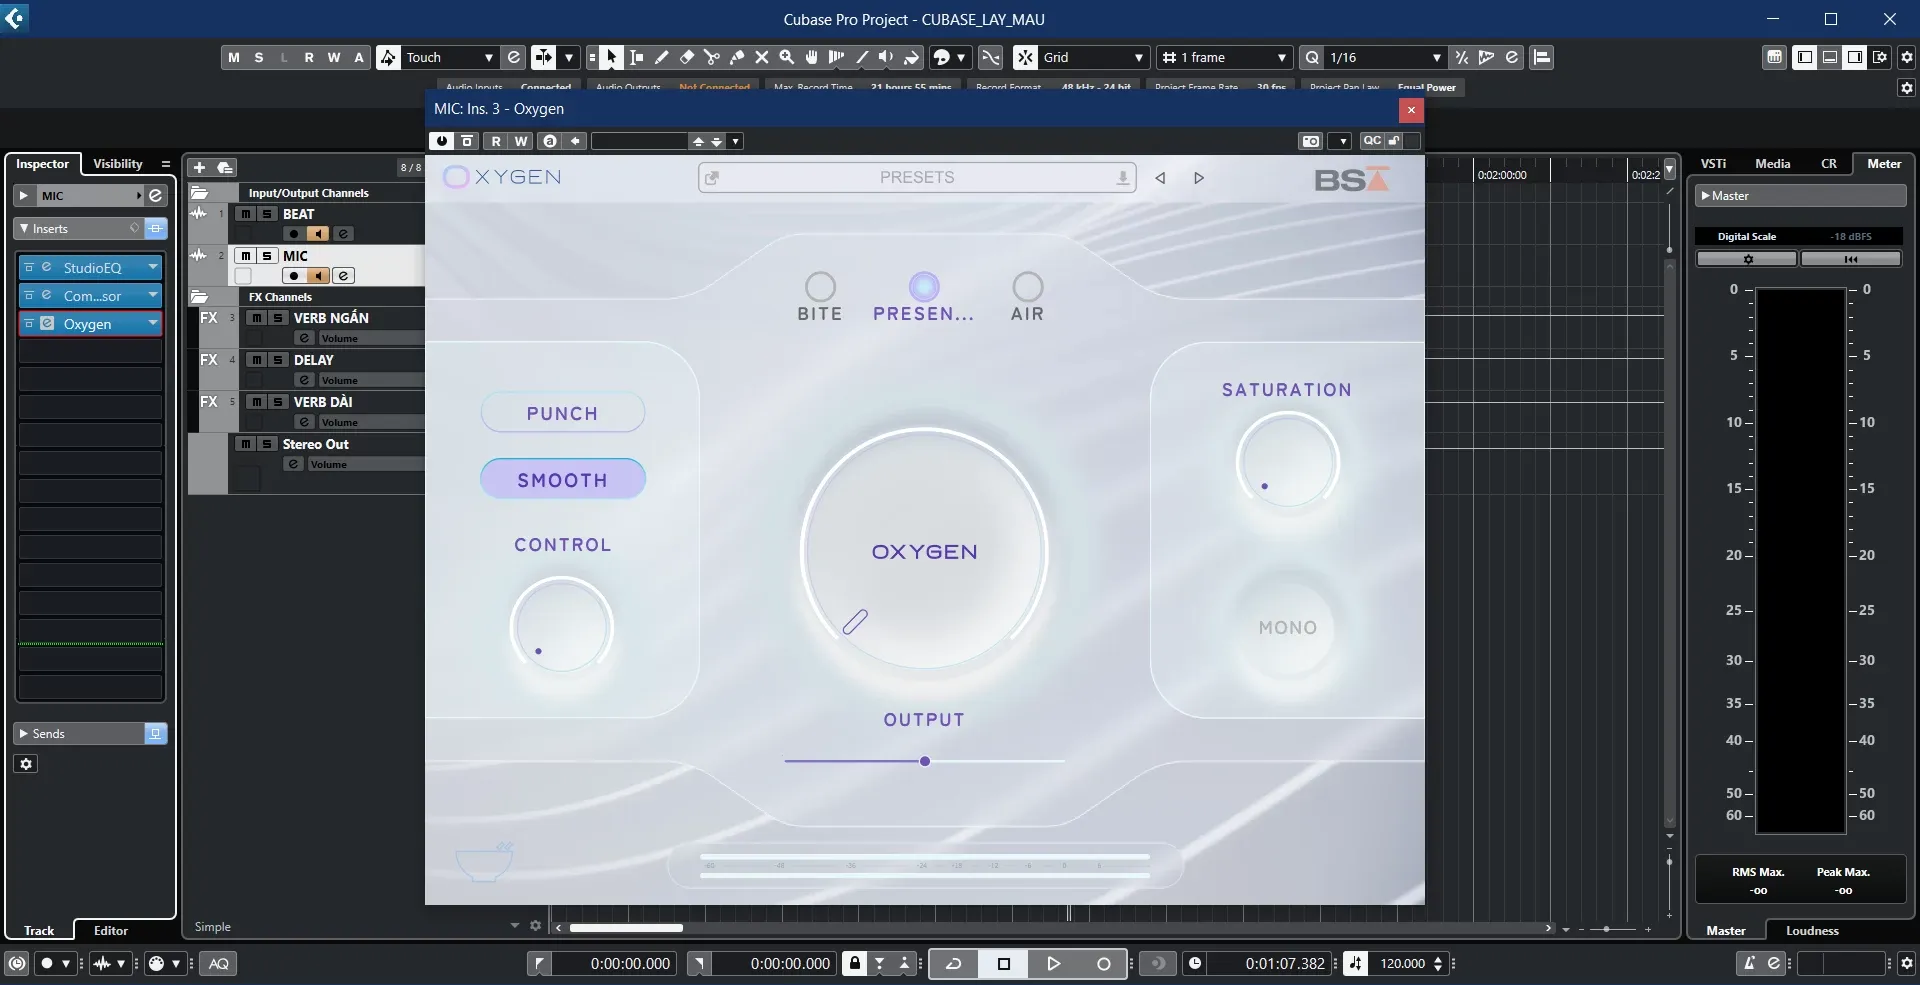
After downloading all the necessary software, you will install it on your computer. When asked about the plugin options, tick VST 64 bit, it can be VST2 or VST3.
For the steps to create a project, you can watch the following video to better understand how the software works.
3. How to sing livestream
After creating the project and being satisfied with it, now you want to livestream, you have 2 options:
- Live directly on your computer through software such as OBS, Tiktok Studio Live, Google Meet… then go to the settings of that app, select the microphone input as Speaker ASIOVAPRO.
- Live on the phone, you can use regular wires, but the quality will be greatly reduced and it will be difficult to pick up other players’ voices (PK). Instead, buy livestream box to ensure the best possible sound and easy plugging in. easier.