This tutorial helps you to get familiar with the workspace (Workspace) and how to set it up in Adobe Premiere Pro CC version. This is the first lesson in my series of self-study Premiere articles.
See also: Tutorial video About Adobe’s Official Premiere Workspace
What is Workspace?
One of Premiere Pro’s greatest strengths is its fully customizable interface. Workspace gives users the freedom and flexibility to arrange layouts in Premiere Pro to suit their needs. editing process.
The Premiere Pro interface is made up of panels arranged into a layout and stored in the Workspace menu.
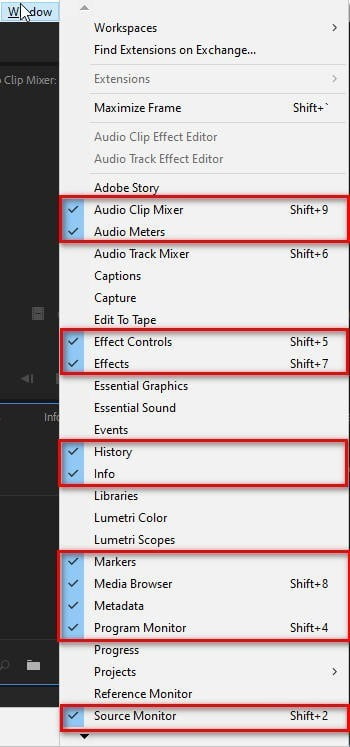
To turn these panels on and off, go to the Window menu and select the name of the panel you want to hide/show on the interface. A bullet point indicates that the panel is currently displayed.
Premiere Pro comes with 9 default workspaces: Assembly, Editing, Color, Effects, Audio, Libraries, Graphics, All Panels, and Metalogging.
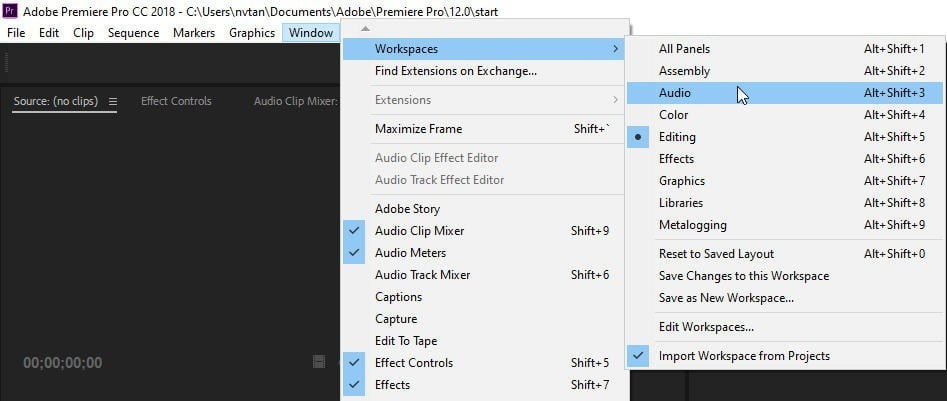
It’s important to understand the inner workings of a workspace if you want to work faster in Premiere Pro.
Edit Workspace
A list of all panels in Premiere Pro (including extensions) can be found in the Window menu > Workspace.
If you accidentally shut down a panel and want to restore it, the Window menu is where you can find it.
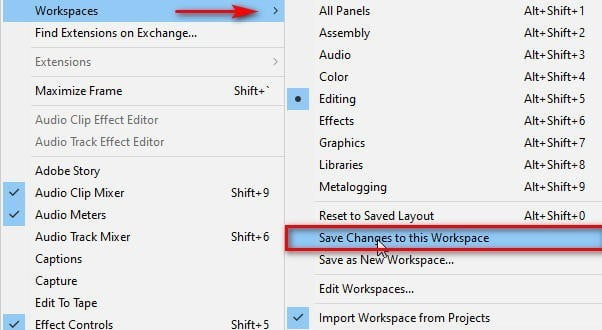
In case you want to create a workspace with your own style, then after arranging the panels reasonably, you go to Window > Workspace and select:
Save as New Workspace: if you want to create a new workspace with a custom name.

Save Changes to this Workspace: If you want to save your changes to the existing Workspace. Here mine is to overwrite Workspace Editing.
In short, depending on the editing purpose, you choose the appropriate workspace.
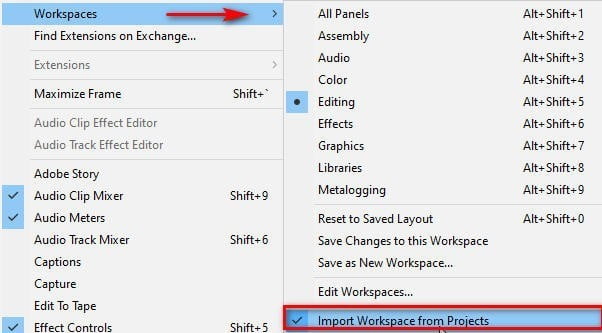
Import Workspace from Projects helps you get the Workspace from the project file (Project) to import into the current workspace. However, you must enable this option before opening Project for it to work.
Workspace bar on Premiere Pro CC
In the Premiere Pro CC version, the company has integrated a bar for users to quickly access the Workspace without having to go through many steps with the Window menu.
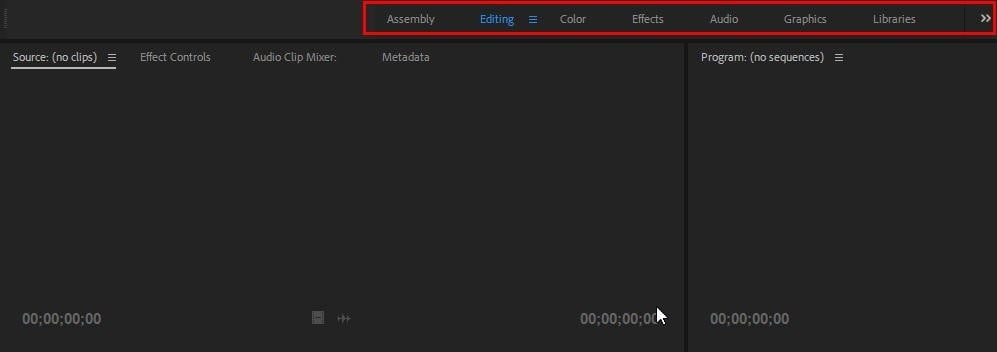
When you click on any Workspace, the software will load that workspace immediately. The bottom of the bar has a double arrow button containing hidden Workspaces, it’s called the Overflow menu.
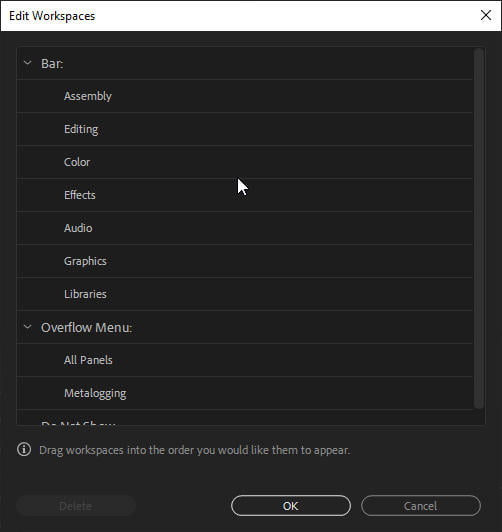
You can customize the Overflow menu by going to Window > Workspace > Edit Workspace:
- To hide the Workspace from the bar, drag it down Overflow menu.
- For the Workspace to reappear on the bar, you Drag it to the Menu Bar.
- To delete the Workspace completely, select it and click on the word Delete.
Gửi Workspace sang máy tính khác
Trên Windows
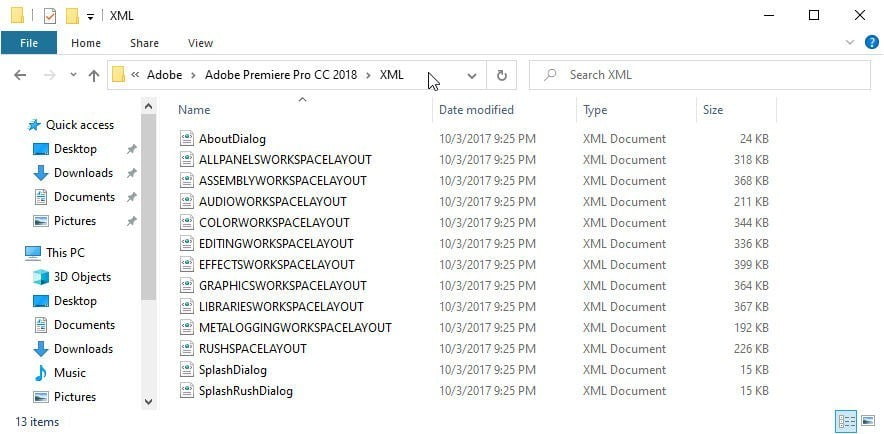
C:\Program Files\Adobe\Adobe Premiere Pro CC 2018\XML (Bản Premiere 64bit)
C:\Program Files(x86)\Adobe\Adobe Premiere Pro CC 2018\XML (Bản Premiere 32bit)
You can copy it and paste it into the corresponding folder on your computer that you want to copy to.
On Mac

Ở đây mình dùng phiên bản Premiere 11.0 nên đường dẫn sẽ là:
Documents > Adobe > Premiere Pro > 11.0 > Layouts
Depending on your version, the link will change a bit at 11.0!
End
End of tutorial Learn about workspaces in Premiere Pro CC here. This is the first post in my self-study Premiere series.
Hopefully the article will help you get acquainted with the interface of Premiere Pro easily. As well as giving you the foundation to work with Workspace in Adobe Premiere Pro.