In the previous post, I introduced the Object and Type menus. As promised today I will continue to teach about tool groups in the Effect menu in Illustrator.
The Effect menu is located in the top horizontal bar of the Illustrator software interface, including menus: File, Edit, Object, Type, Select, Effect, View, Windows, Help. In today’s article, we will learn about the Effect.
menu
This article is excerpted and edited from a similar blog post tuyettac.org.
If this is the first article about Illustrator that you read on my ntblog.net Blog, then I recommend you read the previous series of articles including:
- Common Illustrator shortcuts and Tool Panel (left sidebar)
- Properties of Tool Panel in Illustrator (right sidebar)< /li>
- Some commonly used hidden tools in Illustrator
This Effect menu is divided into 2 groups including Illustrator Effect and Photoshop Effect. I will try to explain each part in turn to make it easy to understand.
ILLUSTRATOR EFFECT
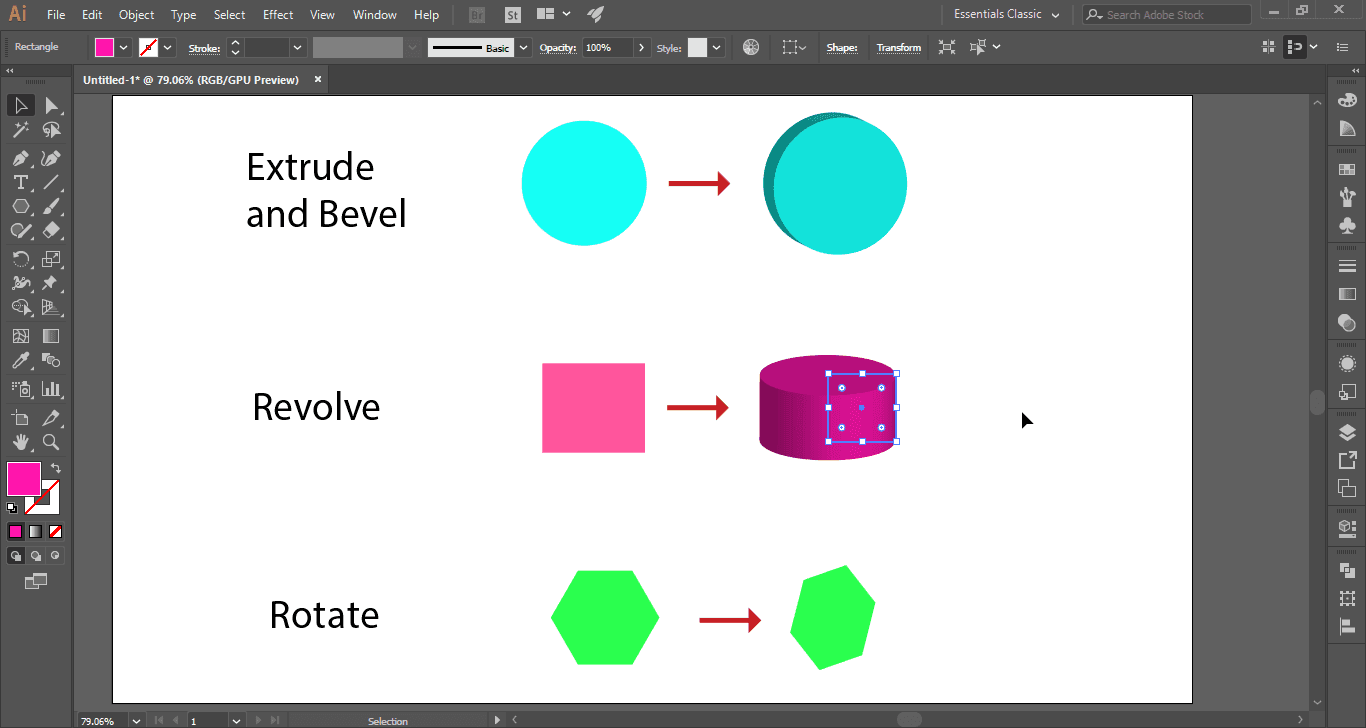
3D group
Extrude and Bevel: Shaping and chamfering effects for objects.
Revolve: the effect of turning the shape of the object’s cross section.
Rotate: perspective object rotation effect.
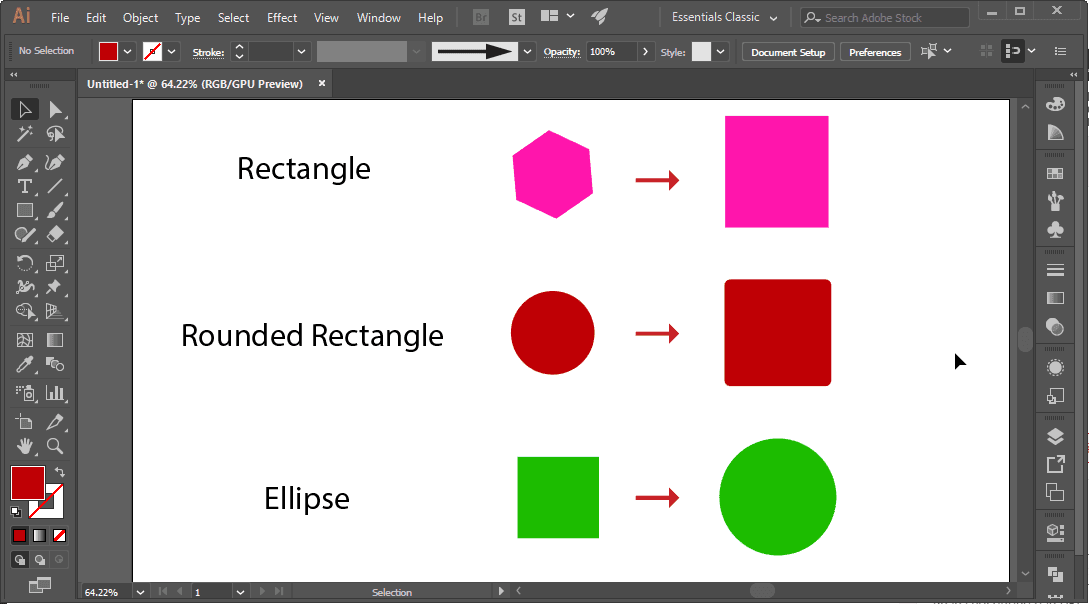
Convert to Shape Group
Rectangle: the effect of converting any object to a rectangle.
Rounded Rectangle: The effect of converting any object to a rounded rectangle.
Ellipse: The effect of converting any object to an ellipse.
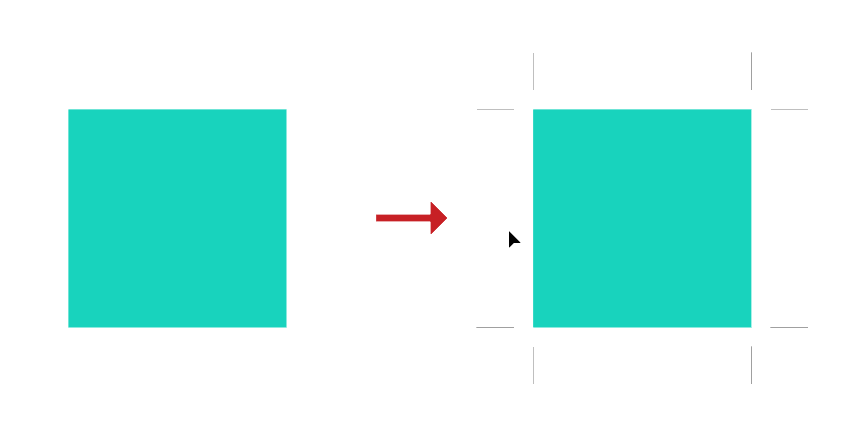
Crop Marks: Used to mark the “sovereign” area of the object.
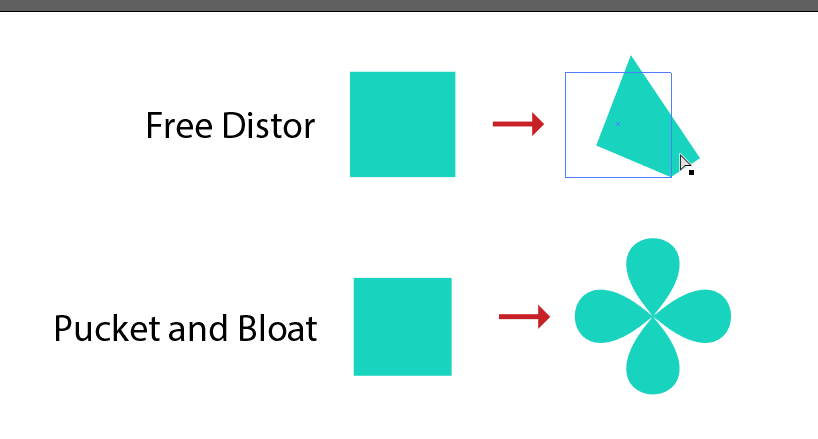
Distort Group & Transform
Free Distor: Used to freely deform a geometric object.
Pucket and Bloat: Compresses or inflates an object.
Transform: Zoom/zoom, move, rotate… object according to certain parameters.
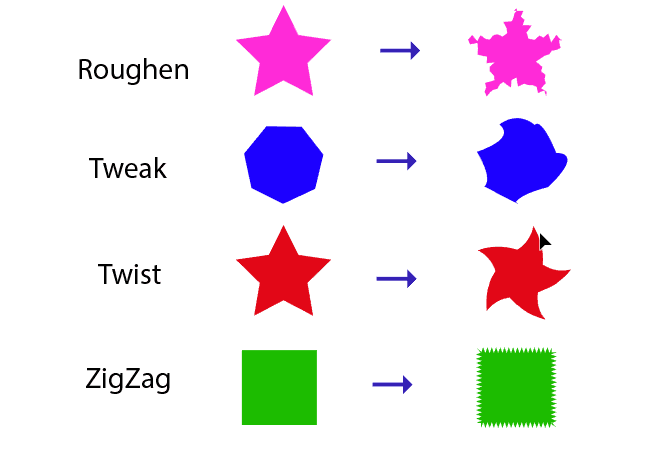
Tweak: Also used to randomly distort objects.
Twist: Used to twist an object.
ZigZag: Has the same effect as the Roughen command, but makes the anchor points move equal segments, not random deformation like the Roughen command.
Stylize group
Drop Shadow: Shadow the object.
Feather: Blur from border to inside.
Inner Glow: Creates an inner glow (illuminated).
Outer Glow: Creates a (self-luminous) outer glow.
Round Corners: Used to round the sharp vertices of the object to a rounded vertex according to the specified radius of the rounded corner.
Scribble: Doodle-like surface distortion.
Rasterize: Converts the object to the Bitmap property. Should only be used with image objects.
group SVG Filters
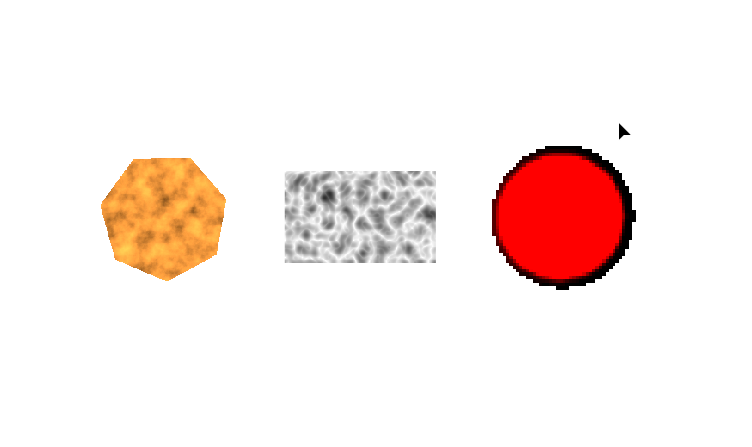
Pre-made patterns, used to apply to the surface of the object you are manipulating. Example:
Warp Group
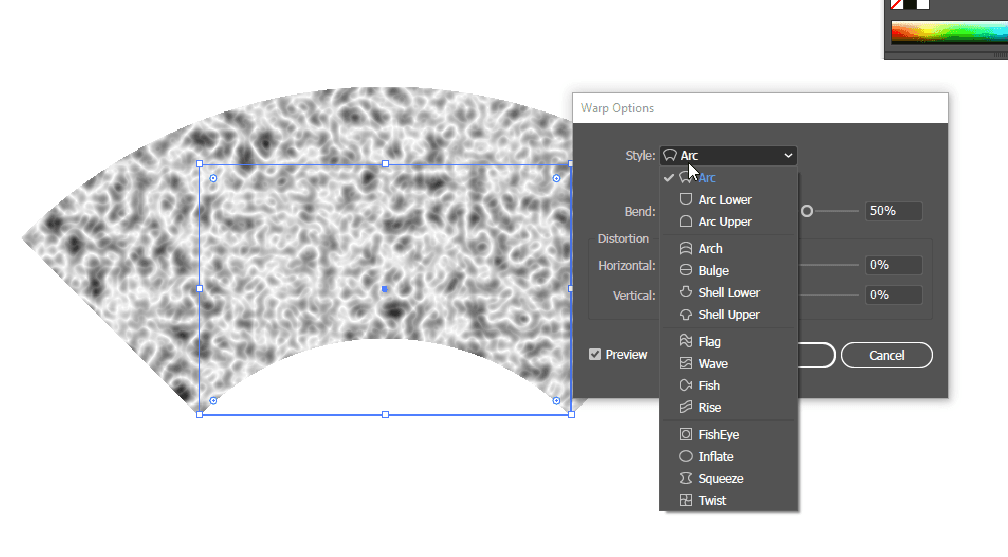
Consists of 15 types of object deformation. Next to it is a small icon describing the object’s shape after changing.
PHOTOSHOP EFFECT
If you already know about Photoshop, this group of tools must be familiar.
Artistic Group
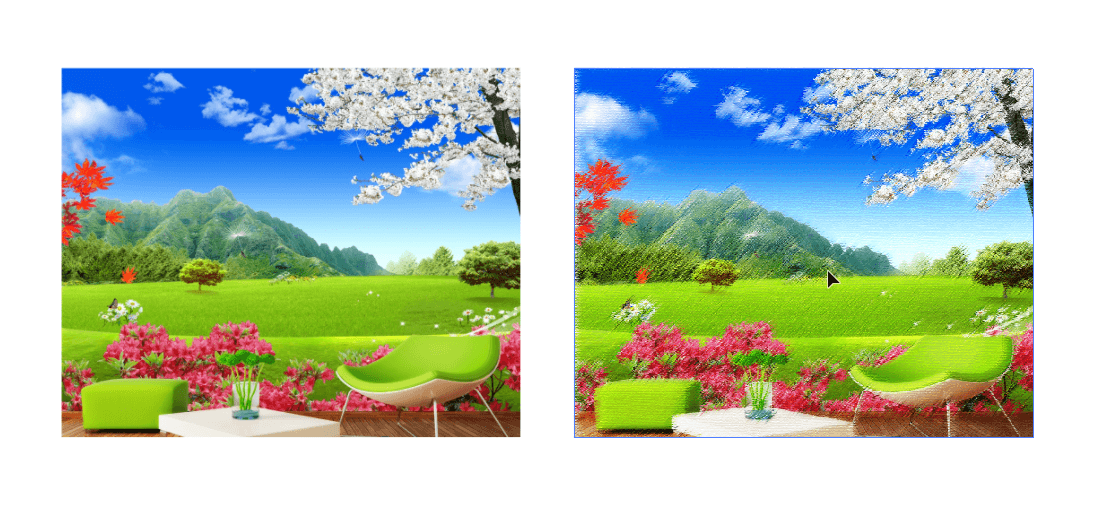
Commands in the Artistic group are used to create artistic brush effects for images.
Blur Group
The commands in the Blur group are used to create blur effects for images.

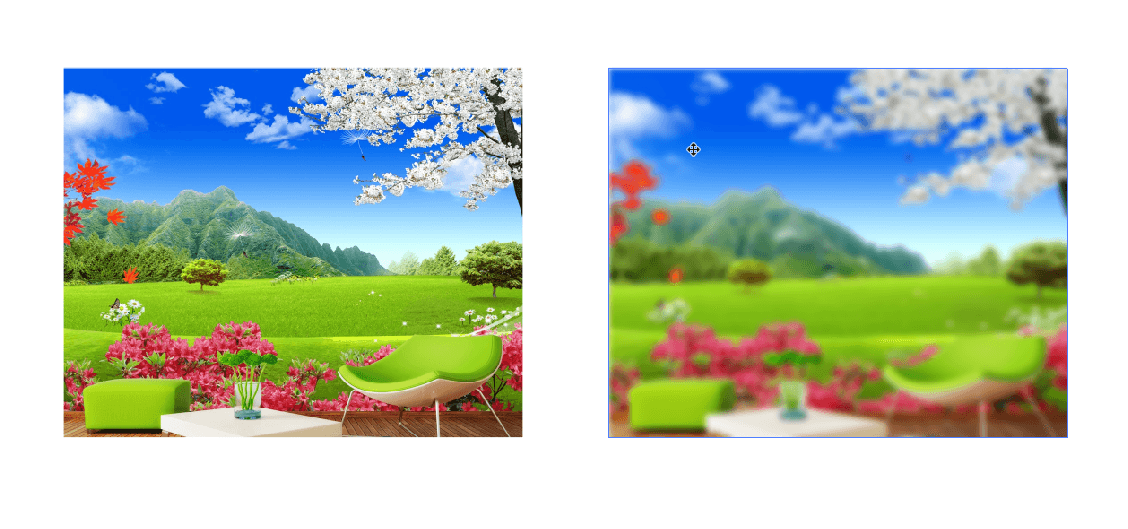
Brush Strokes Group
Commands in the Brush Strokes group are used to stylize an image using different brush and ink effects, creating an image that looks like a real painting.

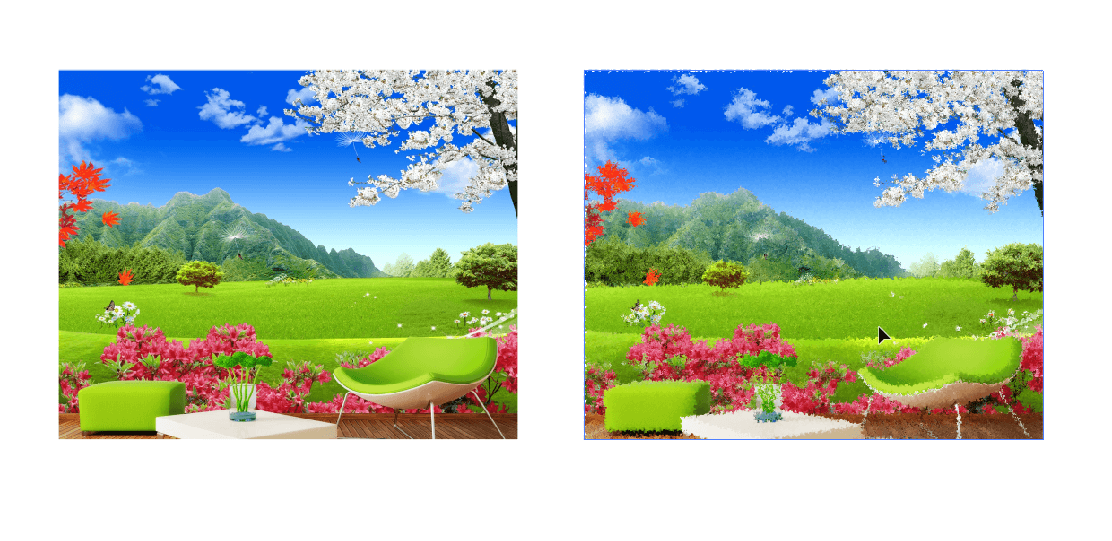
Nhóm Distort
Commands in the Distort group distort the geometry of an image, create a 3D effect, or recreate another shape.

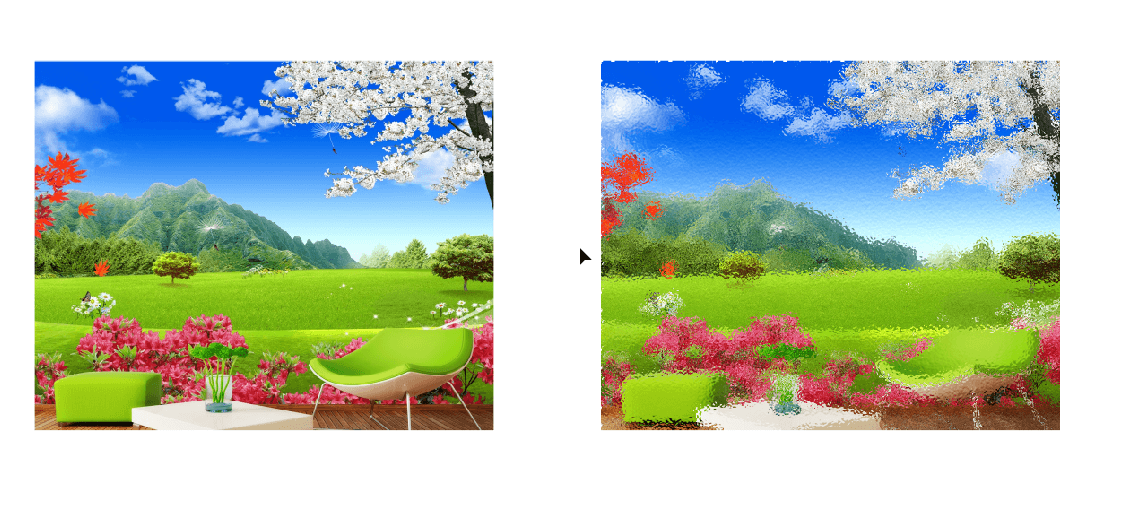
Pixelate Group
The commands in the Pixelate group are explicitly defined by pinching pixels with similar color values into cells.

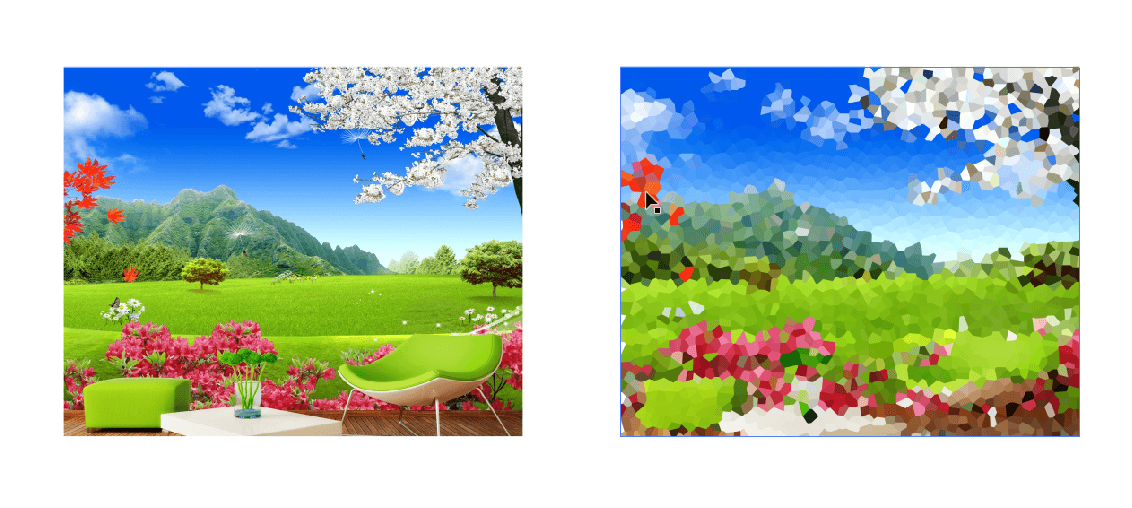
Nhóm Sketch
Commands in the Stretch group add structural graphics to an image, commonly used for 3D effects. They are also useful for drawing (or hand-drawing).
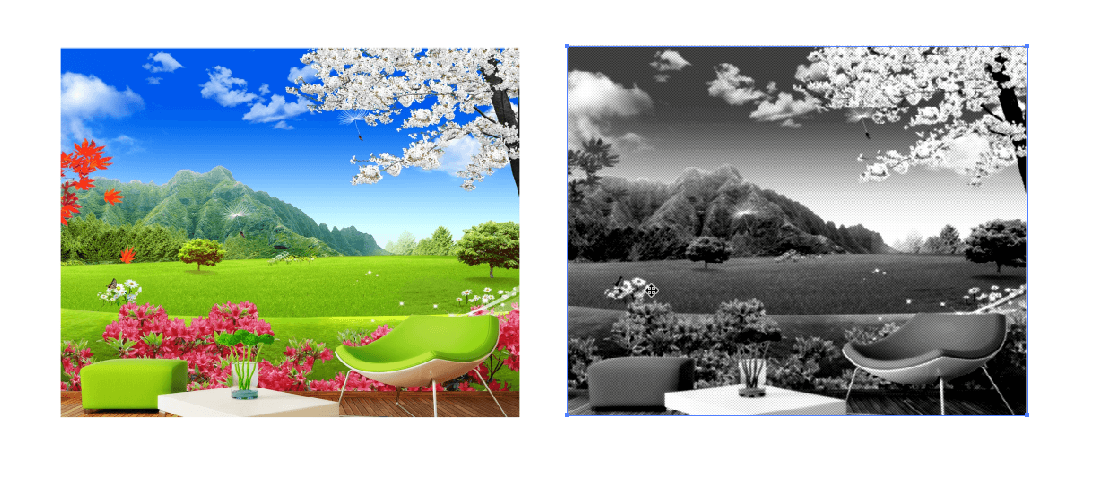
Stylize Group
The commands in the Stylize filter group create painterly or image impressionist effects by replacing pixels and by finding and enhancing contrast in an image.
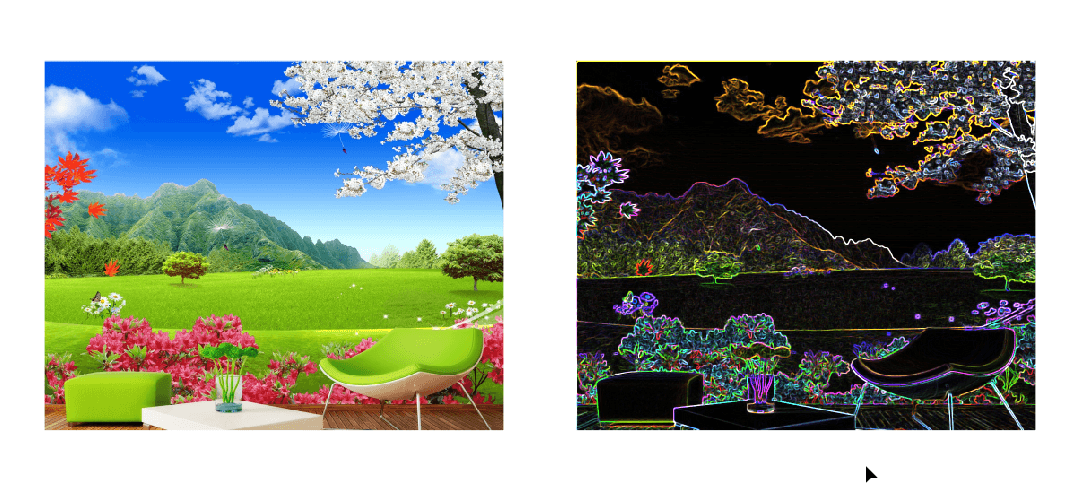
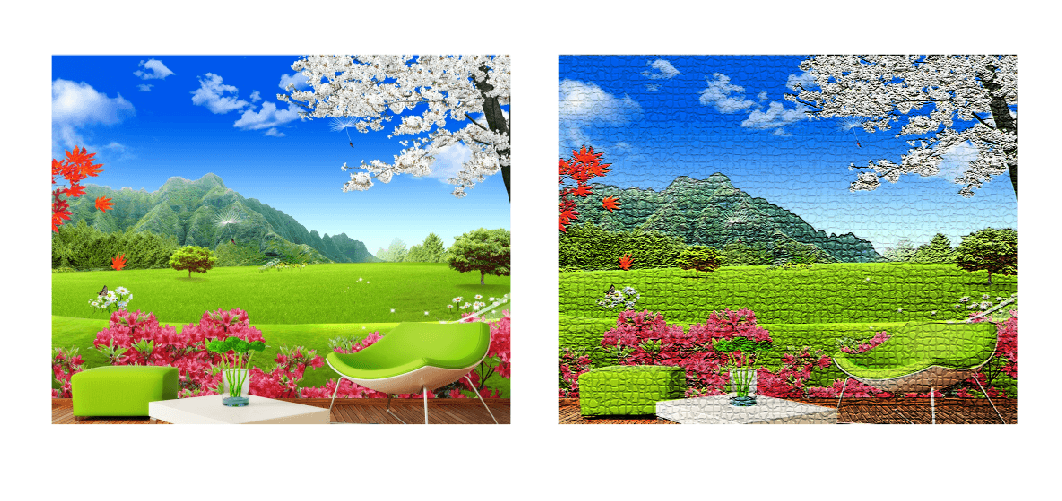
Nhóm Texture
Commands in the Texture filter group give the image an appearance of the actual depth or condition of textures.
END
So I’ve finished introducing the features and how to use each tool of the Menu Effect group in Illustrator.
If there’s something you still don’t understand, you can leave a comment below, I’m always here and ready to help you.