Properties of Tool Panel in Illustrator are sub-options of the tool that we use on the object such as color, size,,…
You can fully customize these tools property of the Tool Panel to appear in the right sidebar by selecting it from the Windows menu above.
There are many Properties of Tool Panel Illustrator, but I will only mention the commonly used tools.
If you do not know anything about the Tool Panel toolbar, read the article the most commonly used Illustrator keyboard shortcuts in this Tool Panel first.
Brushes
Usage: customize pen strokes for paths drawn with paint, paintbrush, line segment, rectangle, …
How to use: select the Brush tool from the left sidebar, then select brush strokes from this panel and start painting.
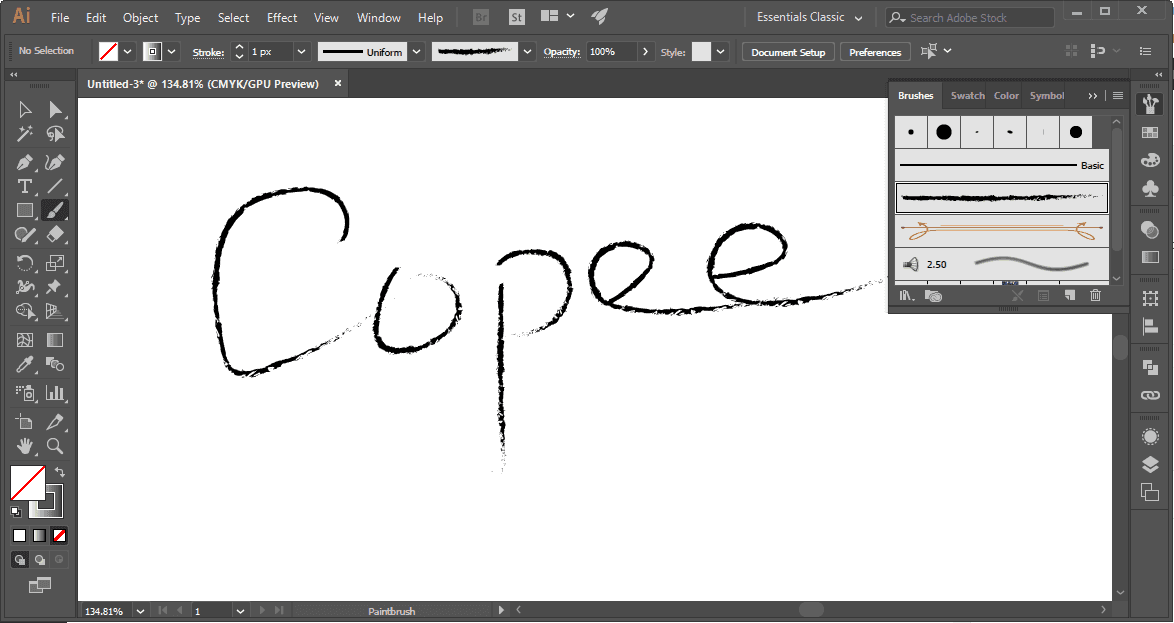
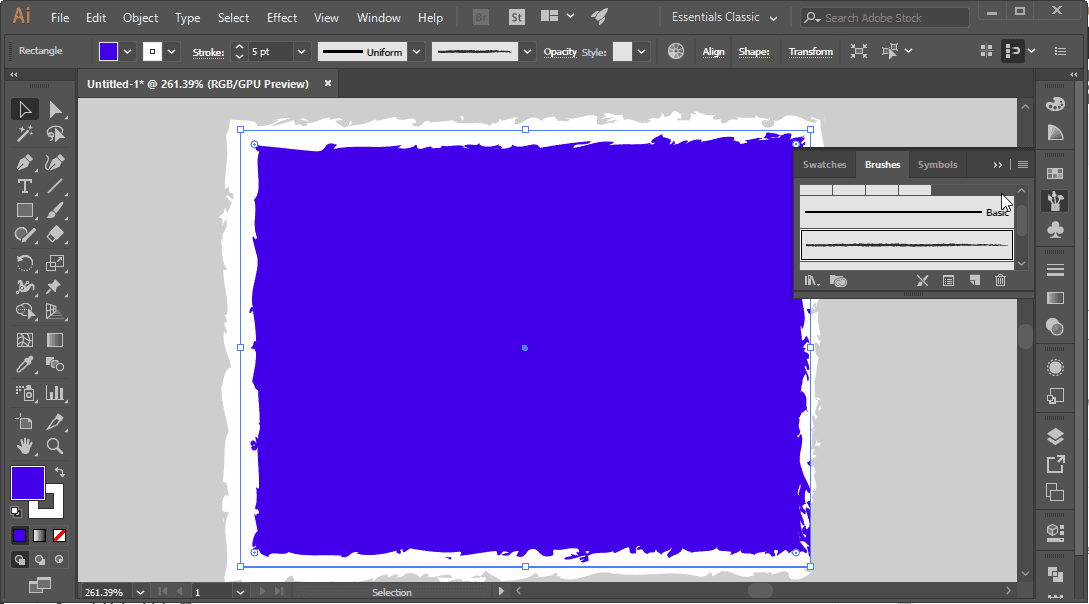
You can also pre-draw paths and then apply brushes (picture below)
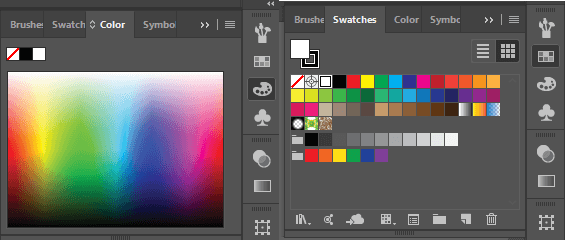
Color and Swatches (color for object)
This probably doesn’t have to be said much, you can use the Swatches function with the available colors or choose from the illustrator color palette.
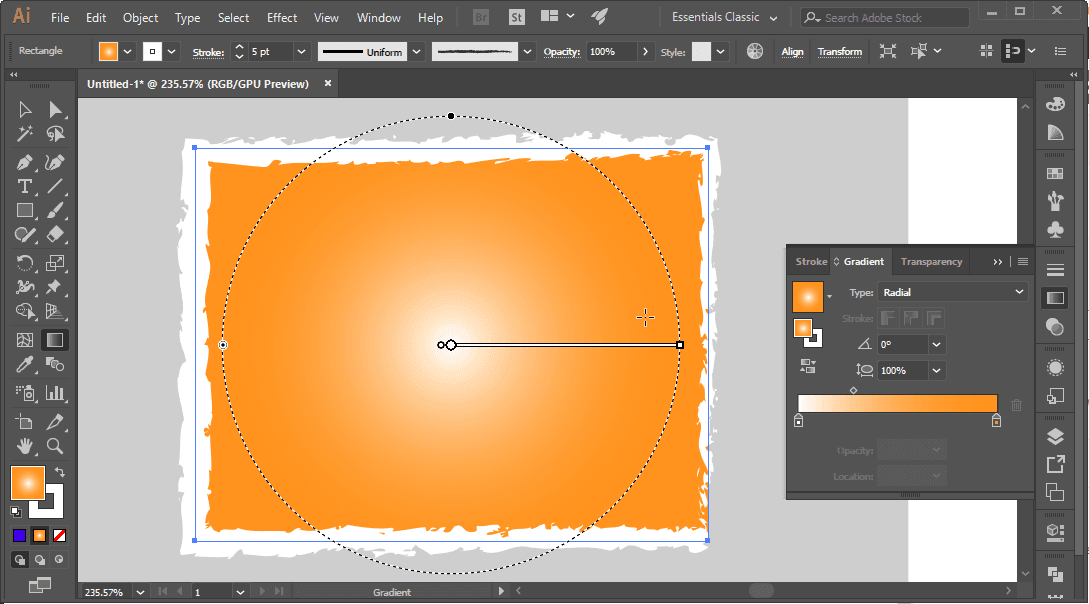
Gradient
Công dụng: tinh chỉnh style và màu sắc cho công cụ gradient tool.
How to use: in combination with Gradient tool in the left toolbar.
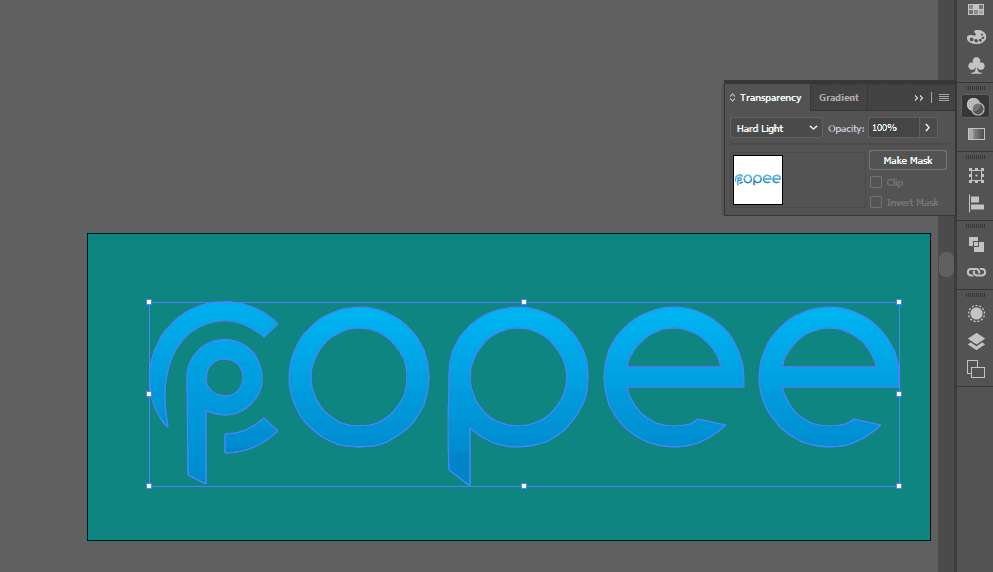
Transparency
Includes Blend mode, Opacity and Mask, each of which is heavily used in the design.
- Blend mode: blend mode between object and background
- Opacity: Object opacity (transparency)
- Mask: create mask object, I will write an entire article for this feature.
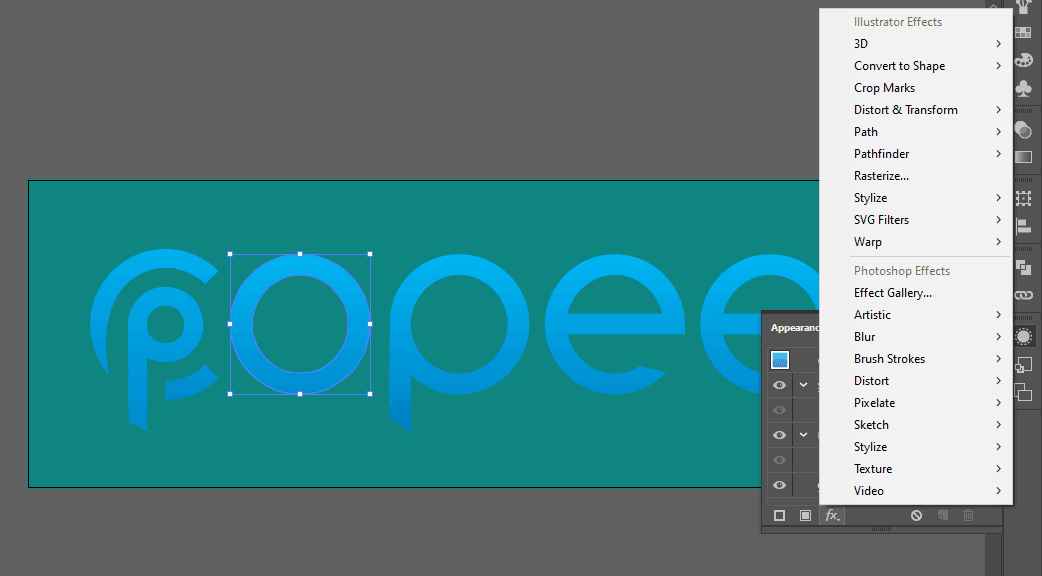
Appearance và Graphic Styles
Appearance : Thuộc tính nâng cao của Fill và Stroke.
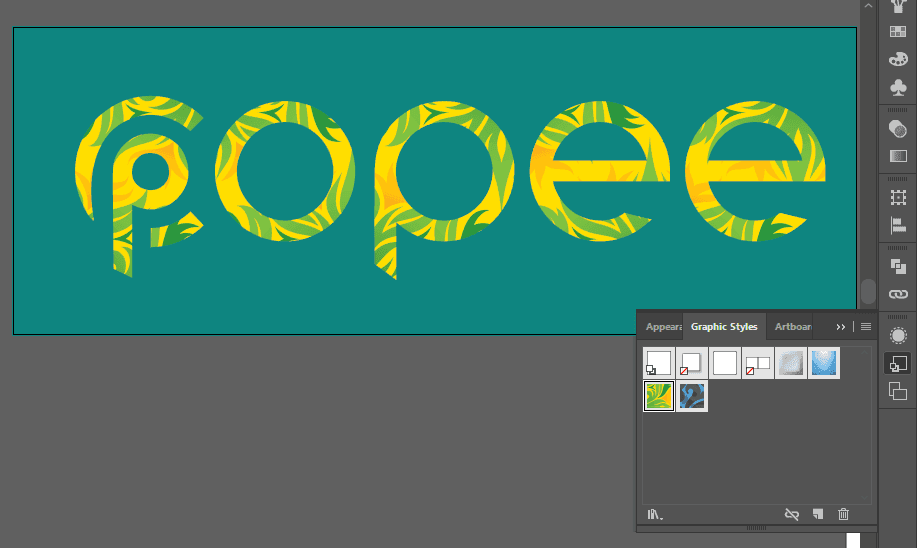
Graphic Styles: fill hình ảnh vào một đối tượng, gần giống với make clipping mask nhưng khả năng tinh chỉnh cao hơn.
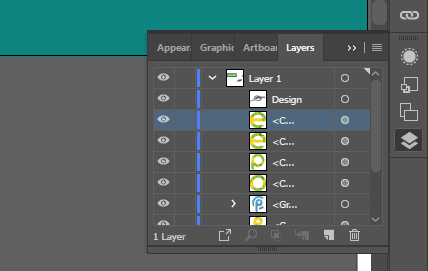
Layer
Similar to photoshop, this is a feature layer manager, which I rarely use because I manipulate objects directly.
Artboards
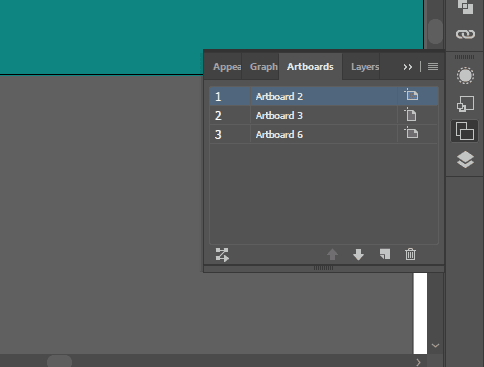
If the Artboart tool is a drawing and resizing tool, the Artboard in this panel helps you rename and arrange the order. Often used when designing catalogs.
Pathfinder
Pathfinder is the fastest and most efficient tool in Illustrator, allowing you to create a new shape by manipulating two paths or multiple objects.
It helps to create complex shapes by stacking shapes.
I will borrow the article of colorme to most accurately describe the use of this group of tools.
Unite
Unite is the operation of combining two or more vector shapes into a new vector object. This tool is ideal for building complex vector shapes and joining them together.

When using this command, the color of the new shape will be the color of the object on top of the group of merged objects
Minus Front
Minus Front removes the top shape layers and the intersecting parts of the object group. The non-intersecting portion of the bottom object will be preserved.

The color of the new object will be preserved as the original object (bottom image in the group)
Intersect
This command will keep only the intersecting parts of the objects and remove the top and bottom shape layers.
The new object will have the color of the top object.

Exclude
As its name suggests Exclude excludes the intersection of selected objects.
About the color of the newly created object will be the color of the top object.

Divide
Pathfinder splits the selected objects into several new objects.Top layers, common and bottom layers to form multiple separate paths.
The new object created from Divide has the color of the unwrapped part (the part you can see)

Trim
Trim is used in case you need to create a new set of objects. Remove all obscured parts of the old objects, and keep the visible parts.

It’s similar to when you cut an existing shape with scissors into different large and small pieces and glue them back into the original shape.
Merge
Similar to the Trim command but it is applied to two shapes with different colors. Objects with the same color will be merged into one.

When applied to three shapes, two of which are the same color, the Merge operation joins the two yellow shapes together and cuts the outline of the other blue polygon.
Crop
This command cuts existing shapes and leaves the overlap behind, along with the top layer’s path shape, like the outline of the circle above.

Outline
As the name suggests, Outline paths create outlines of selected shapes. These outlines can then be individually selected with the Selection Tool (V) when ungrouped (Shift + Ctrl + G).

Minus Back
Minus Back is the opposite of the Minus Front command. It removes the bottom shape layer and the overlapping layer, to keep the top layer of the circle.

Conclusion
In this article, I only guide keyboard shortcuts and the most basic operations and shortcuts to lay the foundation for you in the next tutorials.
The article is the knowledge and experience I have gained from self-studying online, mainly focusing on the confusing problems that I encountered when I started.
If you find the article good, please share and leave a comment or suggestion below, I always appreciate it.