

In addition to tools in the Tool Panel and properties displayed Visually, Adobe also hides some commonly used Illustrator menu tools.
Before entering the article, I would like to note that I will not introduce them all, but only focus on commonly used tools in design.
Must see article:
- Common Illustrator shortcuts and Tool Panel (left sidebar)
- Properties of Tool Panel in Illustrator (right sidebar)< /li>
MENU OBJECT
Object is a menu that summarizes tools for manipulating regular (non-text) objects.
Arrange
Arrange helps to rearrange stacked objects from top to bottom. Take an easy-to-understand example like you are folding clothes.
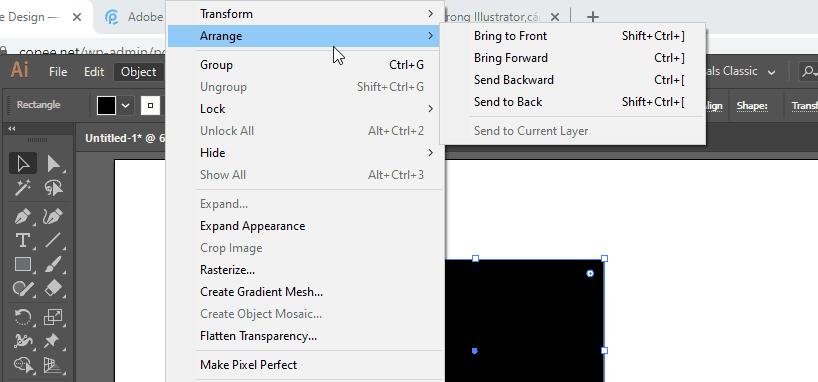
- Bring to Front (Ctrl + Shift + ]): brings the currently selected object to the top.
- Bring Forward (Ctrl + ]): brings the currently selected object to the top of the object. is above it.
- Send Forward (Ctrl + [): brings the selected object below the object below it.
- Send to back (Ctrl + Shift + [): move the currently selected object to the lowest position.
Group and Ungroup
Group (Ctrl + G): groups selected objects together into a separate block.
Ungroup (Ctrl + Shift + G): Ungroups already grouped objects.
Lock and Unlock All
Lock (Ctrl + 2): Lock one or more currently selected objects, after locking will not be able to select or do any operations.
Unlock All (Alt+ Ctrl+2): Unlock all locked objects.
Hide and Show All
Hide (Ctrl + 3): Hide one or more currently selected objects. Once hidden, it will no longer be visible on the drawing.
Show all (Alt + Ctrl + 3): Show all hidden objects.
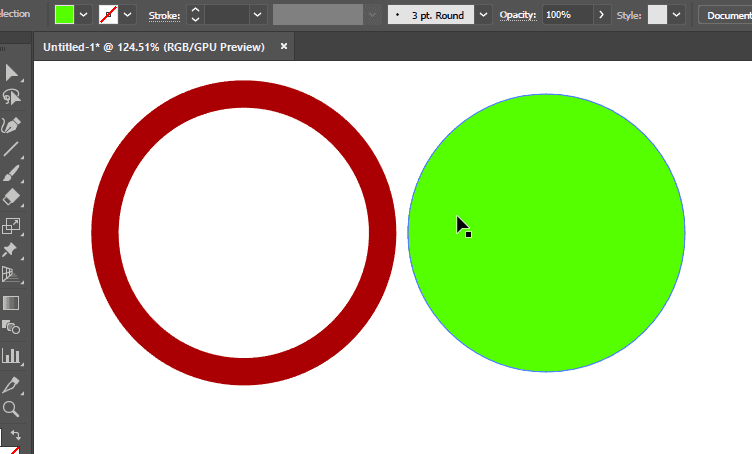
Expand
Decompose a multi-component object into multiple objects. After Expand you use Ungroup to disassemble the objects.
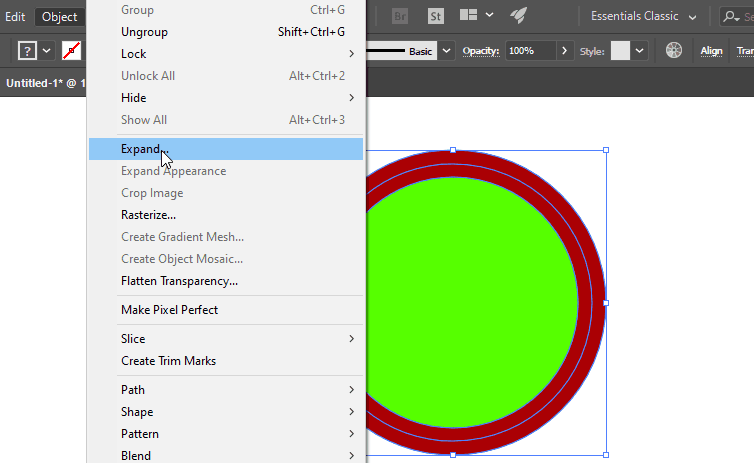
Here I have a planed object consisting of a circle and a circle with 2 different colors. After Expand and Ungroup, I can disassemble them into 2 separate objects.
Crop Image
Crop Image is a tool to crop an image, a normal image that you place or paste in.
After cropping, the image will lose its original size, the new size is exactly the same as the size displayed on your artboard.
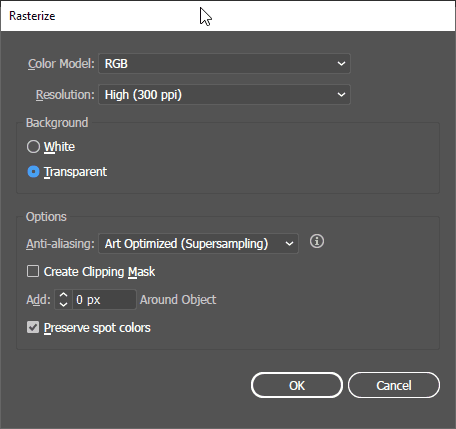
Rasterize
Rasterize is used to compress an object or image to the correct size displayed to reduce the size of the design file.
Personally, I find 300ppi and background transparent to be the best.
Flatten Transparency
Similar to Rasterize but with more advanced properties that I will cover in another article.
Offset path
Offset path helps to increase or decrease the thickness of an object to an arbitrary size.
For example, you want to reduce the thickness of the font, this is the time to use Offset path.
Note: to do this, you must first turn the text into an object by pressing Ctrl + Shift + O (Type -> Create Outline)
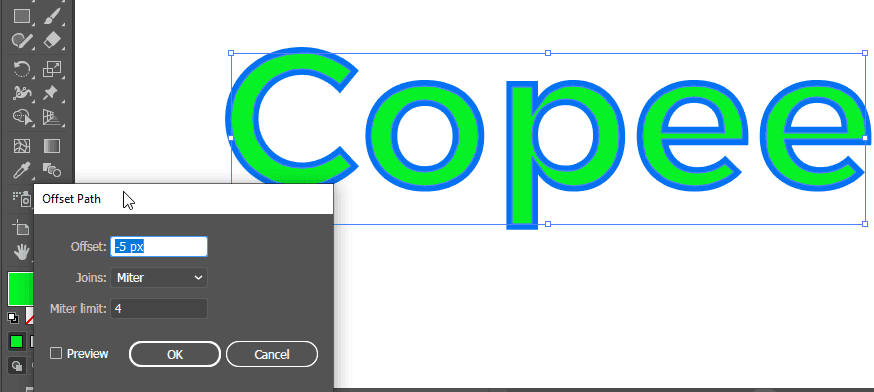
The green part is the new object after creating the Offset path.
After creating the offset path, you move the mouse to drag the new object out of the original object for easy manipulation. Otherwise they will regroup themselves.
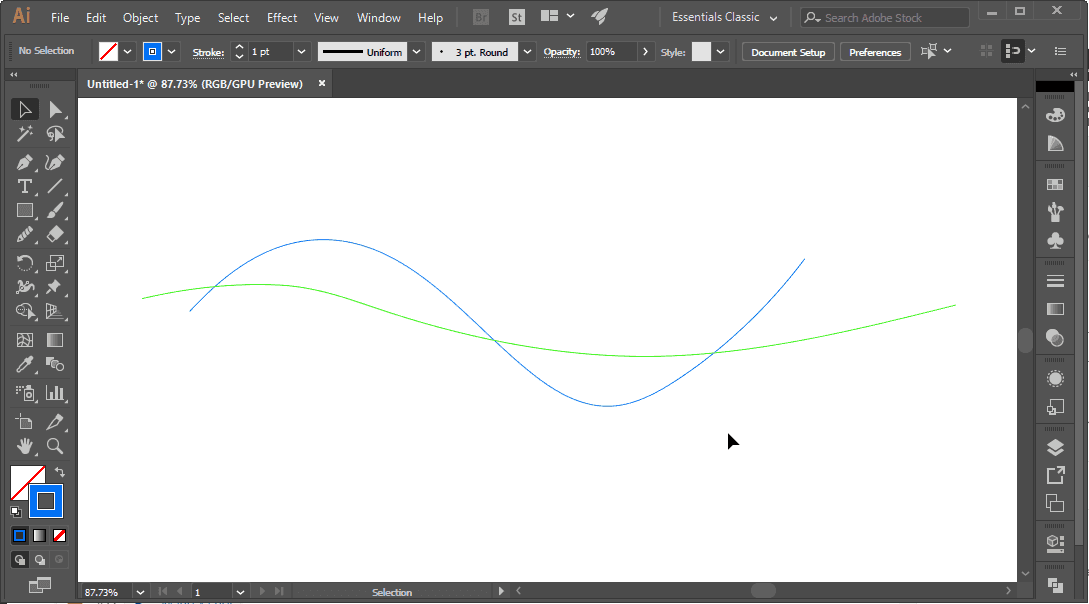
Blend
Blend is a tool to blend colors between 2 or more objects together, creating very valuable effects for the design.
First you draw 2 objects with different arbitrary colors. Select both objects and choose Object -> Blend -> Make or press Alt + Ctrl + B.
If the result is not satisfactory, go to Object -> Blend -> Blend Options to reset.
- Smooth Color: can be understood as automatic.
- Specified Steps: customizes the number of steps between 2 blended objects.
- Specified Distance: the distance between 2 steps between 2 objects.
Usually I use Specified Steps, with the number of steps is 237, I get the following results:
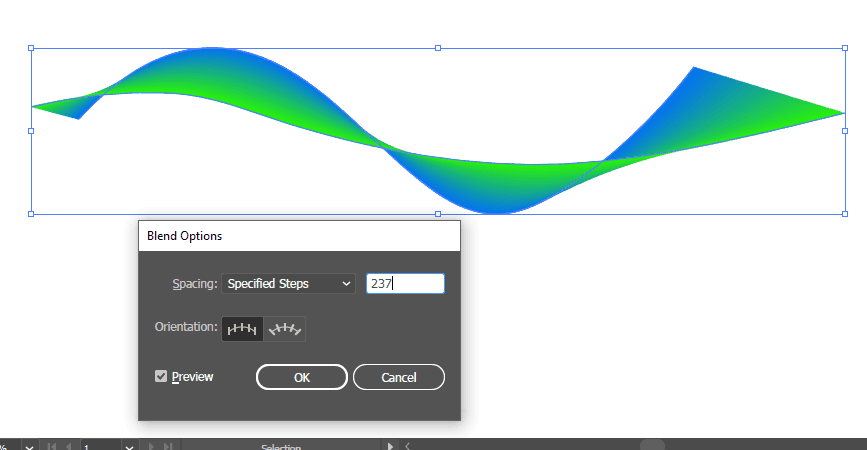
Image Trace
Another extremely useful tool for designers, Image Trace is a tool that turns images into vector objects.
Simple and monochrome photos work best.

The image above is a low quality logo before and after using the Image Trace tool.
MENU TYPE
This is a menu that summarizes the text manipulation tools that you add to your design.
Size and Font
Needless to say, you already know what these 2 attributes are, size and typeface. Find out more by yourself ^^.
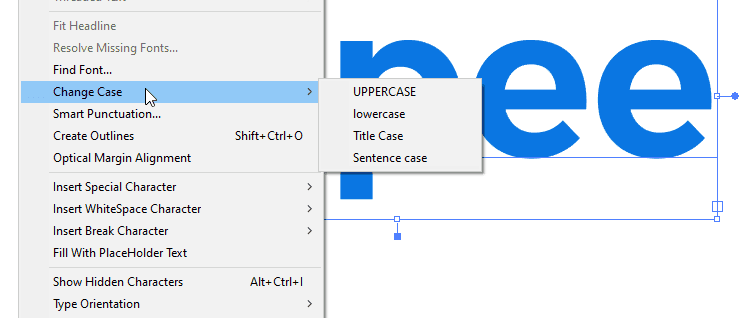
Change Case
Change Case is a tool to change the text format including:
- UPPERCASE: uppercase all text
- lowercase: lowercase all text
- Title Case: capitalize the first letter of each word in the text version
- Sentence case: Capitalize the first letter of the first word in the text.
Create Outline
Create Outline (with shortcut Ctrl + Shift + O) helps turn text into normal objects to manipulate tools that can’t be done on text.
Offset path I mentioned above is an example.
There are some other menus but I don’t think it’s necessary. For a newbie, this is exhausting enough. 😂
MENU EFFECT
Effect menu is very diverse, so I will separate it into a separate article.
Watch it now: Learn about the Effect Menu in Illustrator
END
So I just finished introducing some commonly used menu tools in Illustrator.
The article is the knowledge and experience I have gained from self-studying online, mainly focusing on the confusing problems that I encountered when I started.
If you find the article good, please share and leave a comment or suggestion below, I always appreciate it.