Slow Motion effect in Premiere, so what is Slow Motion? Slow Motion is literally translated as slow motion. Slow Motion in the film industry is understood as a movie clip that is played back at a slow speed to create effects according to the intention of the video editor.

An important note if you want to edit a Slow Motion video is the number Frame Rate (frames per second) when recording must be higher than the Video Frame Rate when editing. What does that mean? Keep watching!
Suppose you want to output a video with a Frame Rate of 24fps (fps = Frame Per Second) and the Slow Motion you want to slow down to 50%, the theoretical Frame Rate should be 24fps x 2 = 48fps .
If I can’t shoot a 48fps video, can I use Slow Motion?
The answer is yes, but the video you output in Slow Motion will feel jerky and not smooth because of insufficient frames.
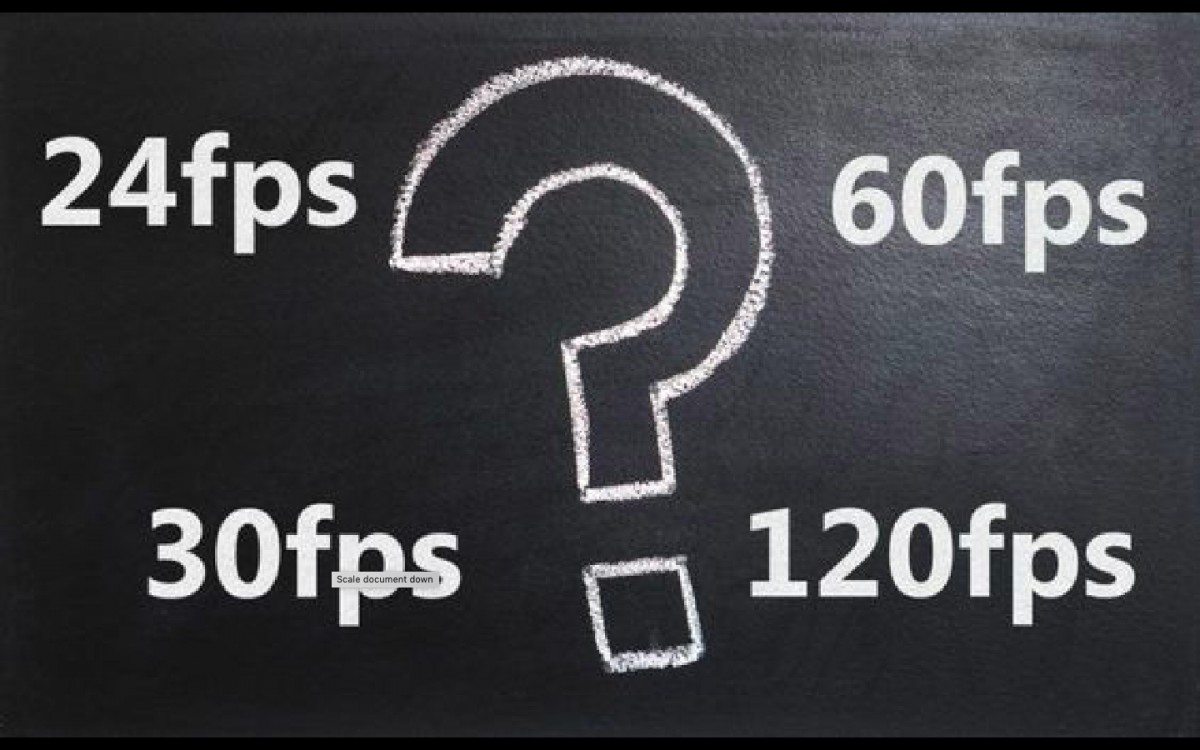
Common frame rates on camcorders and smartphones today are: 30fps, 60 fps, 120 fps and 960 fps.

It is recommended to record videos at 60fps to optimize video quality as well as easy post-editing.
There are many ways to apply the Slow Motion effect, in this article I will introduce 4 main ways.
4 ways to create Slow Motion effects in Premiere
Method 1: Change the Frame Number of Video
To apply this method, the original Frame Rate of the recorded video must be higher than that of the edited video. Here I have a 50fps video, and I want to output 24fps video.
After Import video into Project, right click on the video you want to apply the effect Slow Motion and choose Modify > Interpret Footage.

In the Interpret Footage interface, tick the Assume this frame rate and enter the number 24. This means that the original video of 50fps will be downgraded to 24fps.

Next you drag the video you just changed the Frame Rate into the Premiere timeline, this time the video speed has been reduced by about 50% compared to the original video.

Option 2: Use the Rate Stretch Tool (R)
With this tool, you can customize your video to different speeds, not just Slow Motion and without changing the Frame Rate as above.
After dragging the original video to the timeline, left click on the Ripple Edit Tool until a list of secondary tools appears and select Rate Stretch Tool. Or simply press R.

Next you put your mouse on the video extension and
- Scroll to the right if you want to slow down the video (Slow Motion)
- Drag to the left if you want to speed up the video (Fast Forward)

Option 3: Use the Speed/Duration option
You right click on the video you want to increase or decrease the speed, select Speed/Duration from the menu.

In the Speed/Duration interface, enter the speed you want to change for the video, this index is in %, the higher the speed, the faster the video. If you want to create a Slow Motion effect, enter a number less than 100%.

Option 4: Use Time Remapping (Speed)
Step 1: Right-click the video, select Show Clip Keyframes > Time Remapping > Speed

Step 2: At the video section, place your mouse in the position as shown, and hold Alt and scroll up to expand the Time Remapping section.

Hold Ctrl and select the start and end points of the video to apply Slow Motion

Step 3: Increase or decrease the speed of the video.
Leave the mouse on the video you want to edit at the position as shown, where the mouse pointer shows a 2-way arrow and drag down to reduce the video speed, drag up to increase the video speed.

Step 4: Create a speed transition between 2 videos
The special thing about this way is that you can apply Slow Motion effect of descending / ascending speed by placing the mouse pointer on the position as shown below and dragging left / right.

Step 5: Smoothen the speed transition
To smooth the video speed transition, double click on the position as shown below, an adjustment bar with 2 anchor points will appear.

You drag these 2 anchor points so that the transition has a curvature as shown, the transition speed between the 2 parts will become much smoother.

Conclusion
End of the article Creating Slow Motion in Premiere with 4 basic ways here, hope the article helps you in the process Self-study Premiere.
If you have difficulty editing the video, you can leave a comment below, I will support you as quickly as possible.