What is a drop shadow? How to create professional shadows in Illustrator? Today’s article will help you answer all of these questions.
In graphic design, shadows is a graphical element that looks like image of an object, giving the impression that the object is above or in front of objects below or behind it.
If you are placing a perfume bottle or an apple on the surface of the table, a reasonable shadow will help the viewer believe that it is actually being placed there.
On the contrary, you will feel like the object is floating without support, making your design look unprofessional.
Here are 3 ways to create shadows commonly used in design, including: drop shadow using Drop Shadow menu, shadow on mirror surface using Mask and Gradient, shadow using Blend tool
Preparation stage
After separate or remove the object background, you copy this image to another background have a smooth surface like a table, chair, or anything on which the subject can be placed.
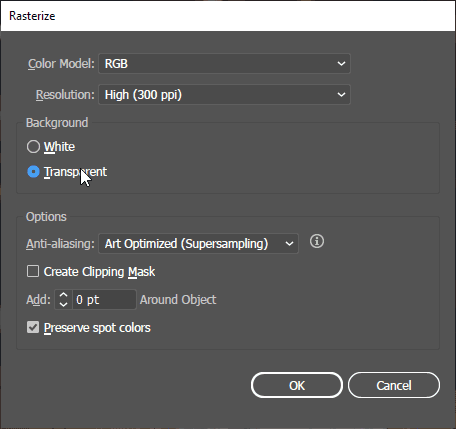
Do Rasterize for it to combine the image and mask into it. a single layer.
Tạo bóng đổ bằng công cụ Drop Shadow

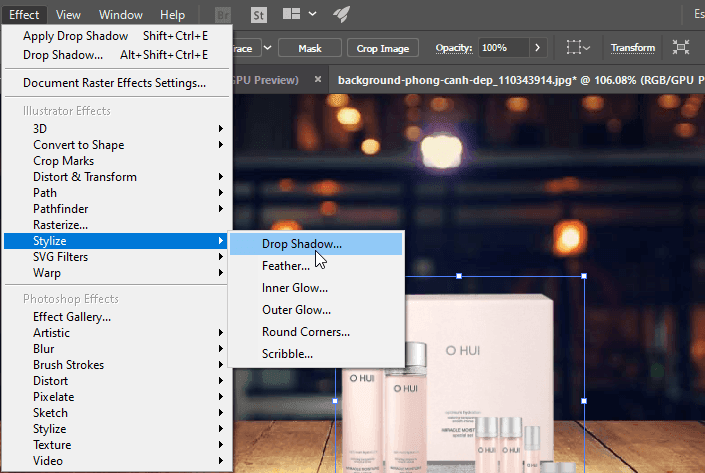
After placing the object in the background, select the object and open the Effect menu > Stylize > Drop Shadow
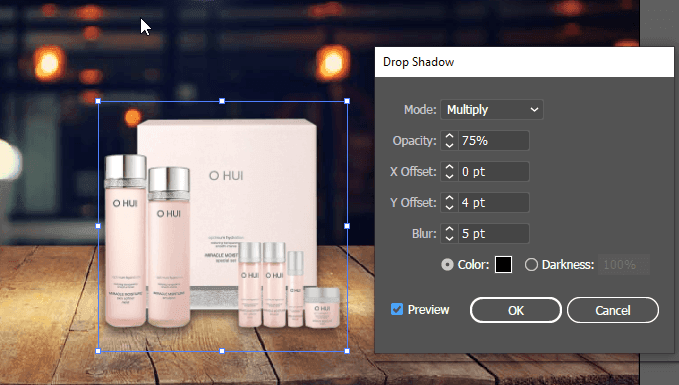
Tick the Preview box to preview, adjust the appropriate parameters:
- Mode: Blending Mode
- Opacity: Shadow Opacity
- X Offset: increase or decrease to move the shadow left and right.
- Y Offset: increase or decrease to move the shadow up and down. .
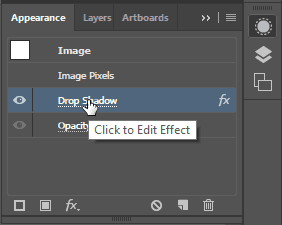
After pressing OK, if you want to edit this shadow again, go to Appearance in the right panel or choose Appearance from the Window menu above.
Make a shadow on the mirror face with Mask and Gradient
Different from the black shadow, the shadow cast on the mirror retains the shape and color of the object, the opacity depends on the reflectivity of the mirror surface.
You can either load a background with a mirror reflection, or draw a solid shape like I did here.
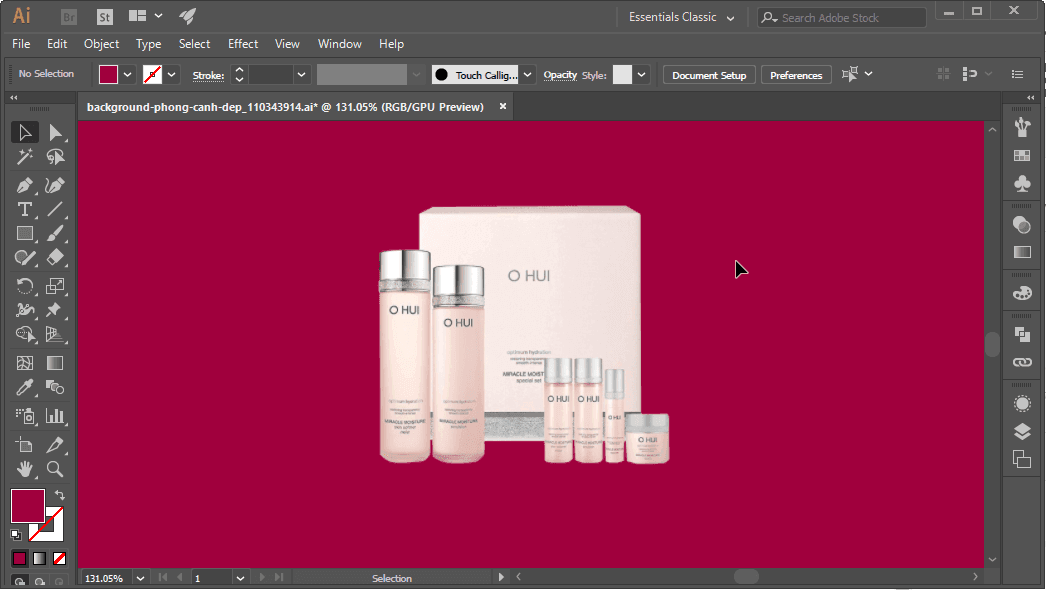
Use the Rectangle tool to draw a background, Ctrl + [ to bring the background below the object.
Draw another white rectangle, adjust the Transparency as follows:
- Blend mode: Overlay
- Opacity: 40%
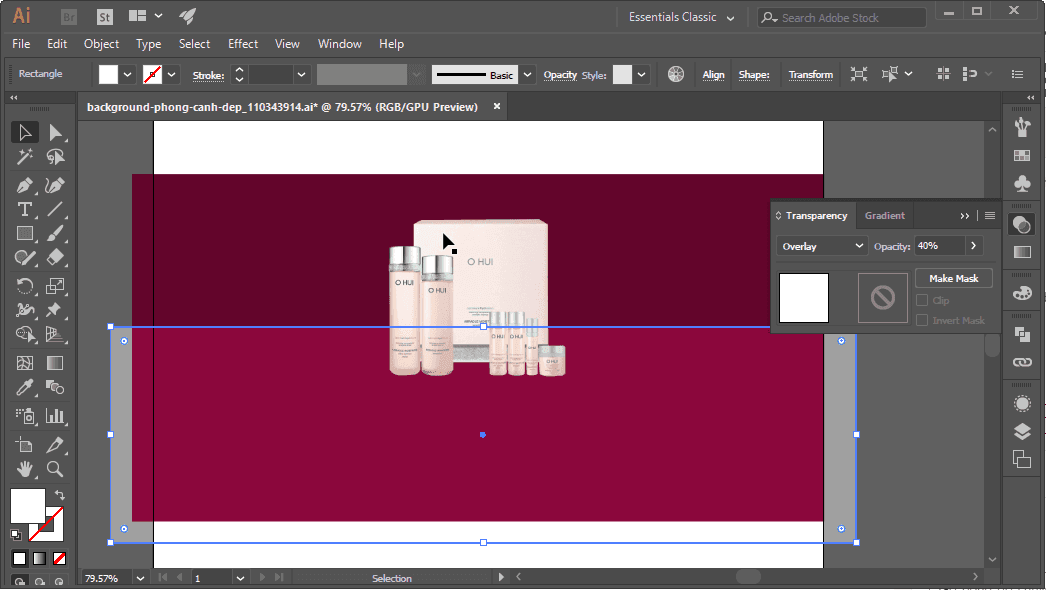
Continue to press Ctrl + [ to bring this image below the object.
Use the Selection tool to select the object, press the O key (Reflect tool), hold the Alt key and click on the lower edge of the object.
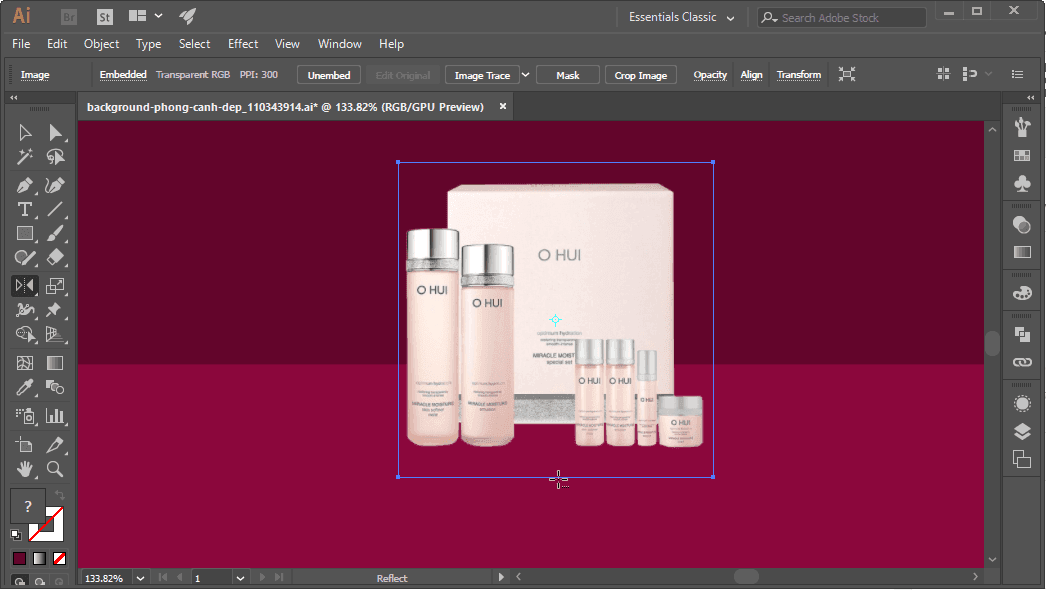
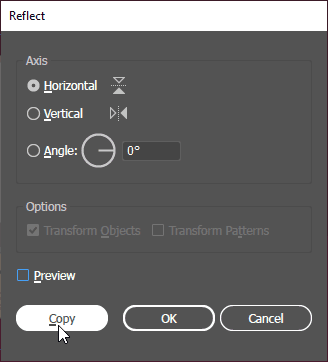
The Reflect tool panel appears, set it up as shown and press Copy.
If the copied image is far away from the main object, use the V key (selection tool) to move it closer but still leave a small gap.

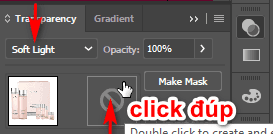
Select the Transparency panel, set the Blend mode to Softlight and double click on the diagonal square to activate the Opacity Mask
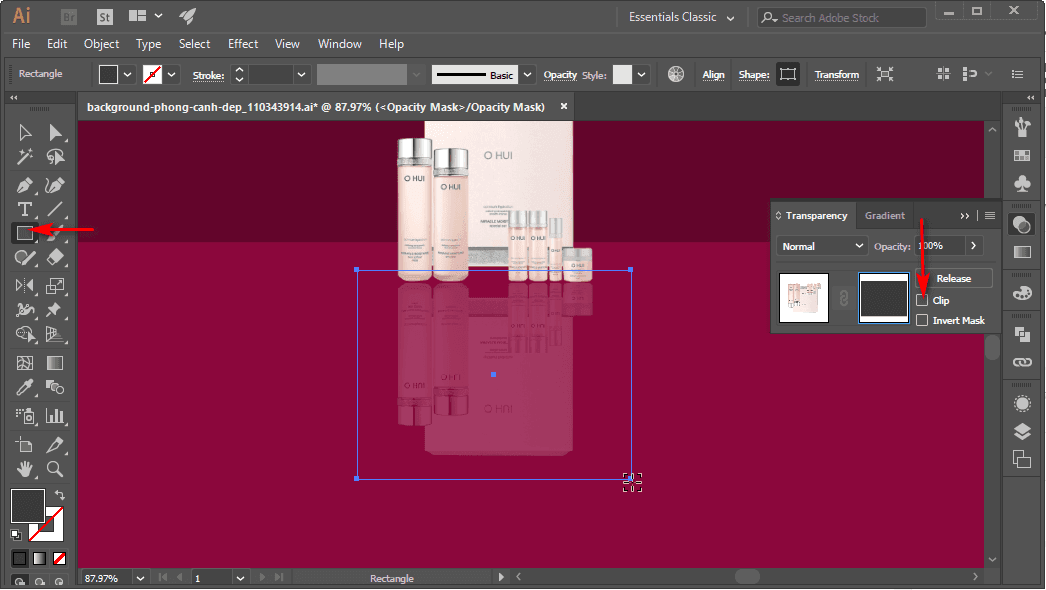
Uncheck the Clip box, use the Rectangle tool (M) to draw a square bigger than or equal to the object’s shadow.
Click the Gradient button below the stroke box

Mở panel Transparency bên phải và thiết lập như hình
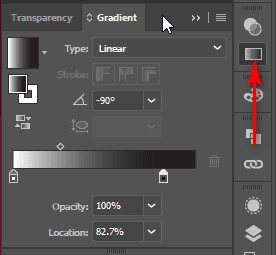
For RGB color mode (File > Document Color > RGB Color)
The dark part of the Gradient, you have to double click then go to the Swatches below, then choose black here.
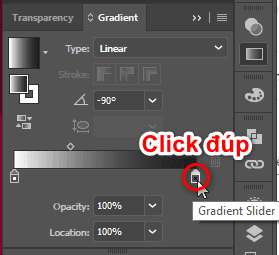
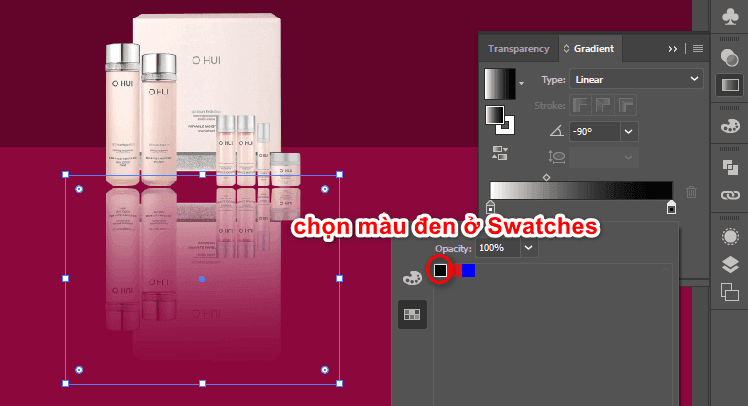
At this point you notice that the lower part of the shadow has been partially covered, just like my design intent.
For CMYK color mode (File > Document Color > CMYK Color):
No need to select black from Swatches, just drag the slider to balance the shadow.
And here is the result:

Exit Opacity Mask mode by clicking on the left thumbnail.
Create a shadow with the Blend tool
This method only applies to an object drawn in Illustrator or a vector object, not an image online or taken with a camera.
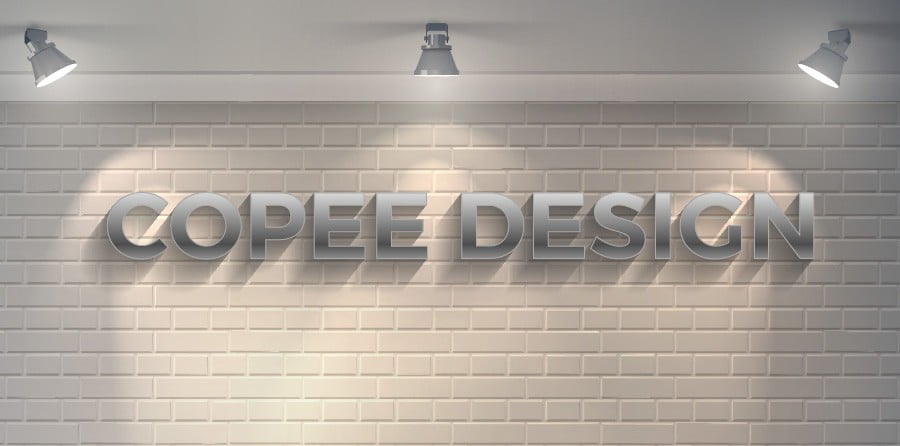
As an example of writing, I will create a 3D shadow effect of that text on the wall.
Use the type tool (T) to create text, here I choose the font Montserrat, the font that the blog uses I’m using.
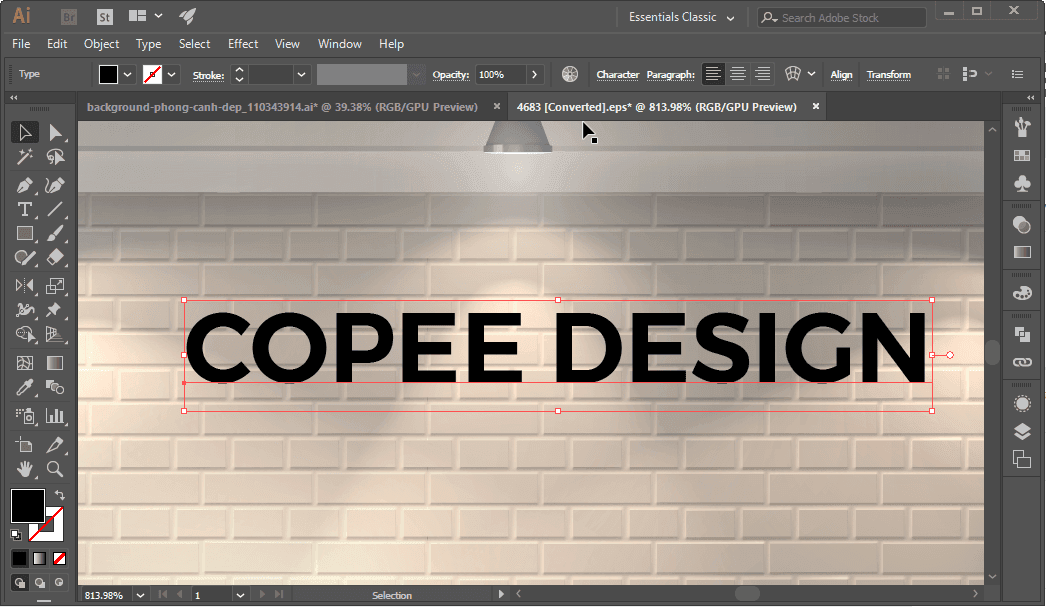
Use Ctrl + Shift + O to convert text to lower case.
Give it an arbitrary color, I copied the wall color and darkened it a bit.

Copy it outside, fill it with black and duplicate it again, then arrange like this:
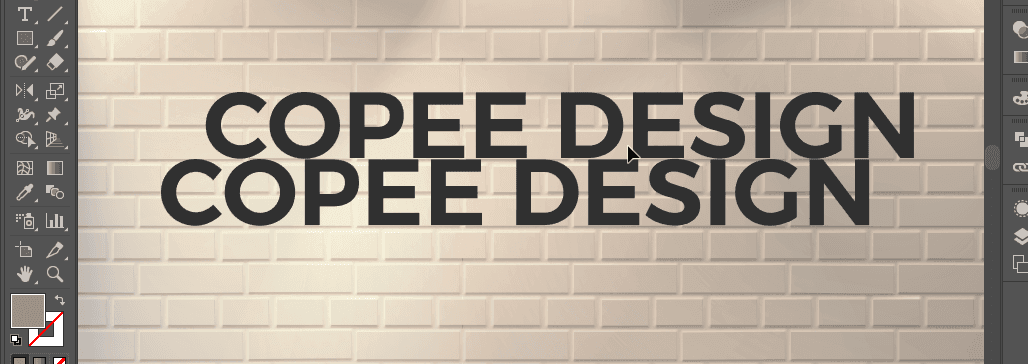
Layer bên dưới bạn để Opacity là 0%, ấn tổ hợp Ctrl + [ hoặc chuột phải chọn Arrange > Send Backward

Chọn cả 2 layer, ấn tổ hợp Alt + Ctrl + B hoặc chọn menu Object > Blend > Make
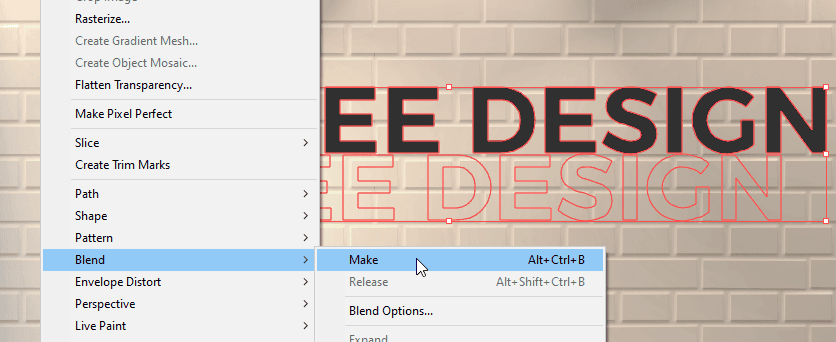
Continue to Object > Blend > Blend Option and adjust as follows:
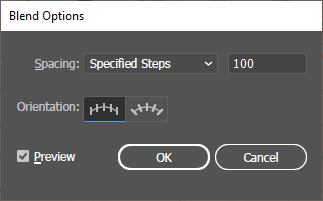
After creating the shadow, drag it over the main object that you created above to match.
If the shadow is too long or too short, double click on it and reposition these 2 layers.
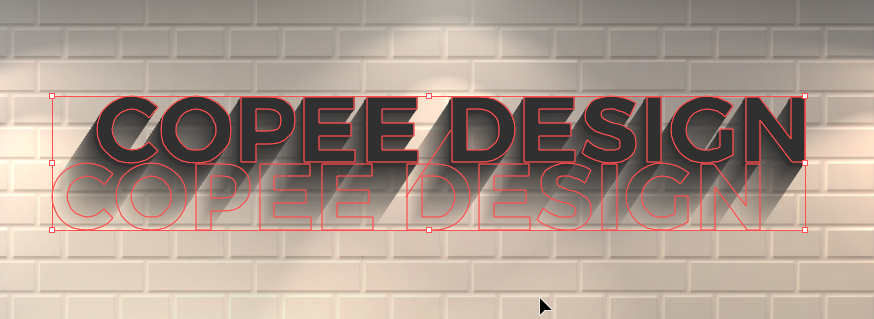
Use Ctrl + [ or right-click to select Arrange > Send Backward to put the shadow behind the main subject.
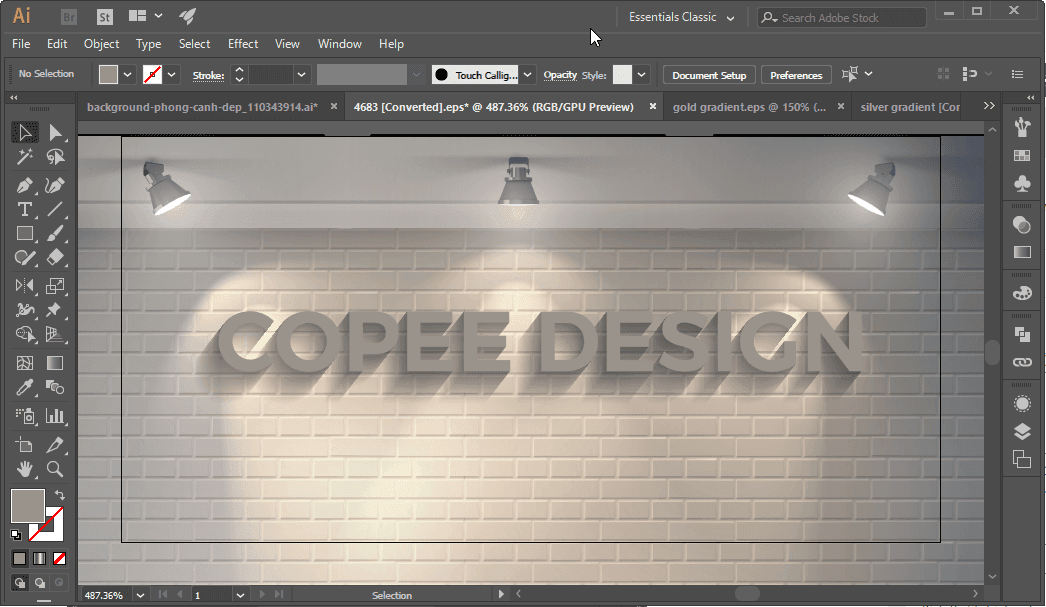
The Fill part of the text you can use Gradient and set as follows to make it look more realistic.
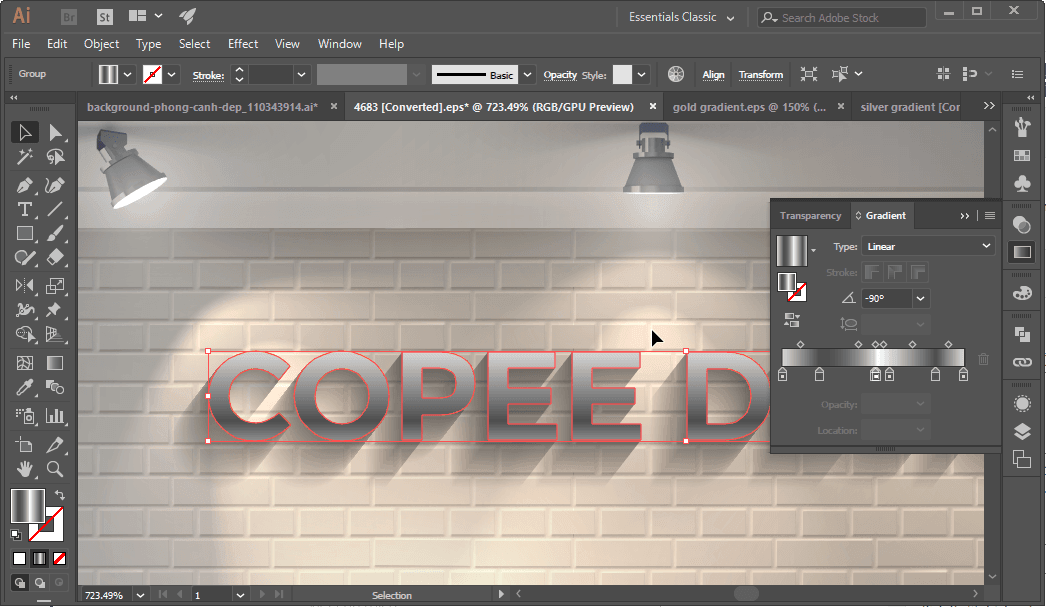
The stroke part here, I leave it about 0.2 px, color code #a8a8a8. And here is my product:
End
So I’ve finished teaching 3 ways to create professional shadows in Illustrator.
Shadow is extremely important in design, depending on your requirements, you can choose a suitable shader style.
If you have any questions, please leave a comment below. I’m always here and ready to help you.
Good luck!